Entryway Bench
The entryway by our front door has been languishing for pretty much ever. I mean, it’s not terrible, but it’s also not really an “entryway” – once you come in the front door, you just sort of get dumped right into the house. And with the way we have it set up right now, with the rolling kitchen cart there, it doesn’t help.
When we first got married, we snagged the little rolling cart you see there for 200 bucks at a local Big Lots, and it served us well. We used it in our first apartment and when we moved into this house it fit so perfectly in that little space that we left it there. We don’t use it much, but honestly, I have been afraid to open the doors or drawers because it seriously looks like at any moment it might crash to the floor – and this thing is heavy. And filled with liquor and glass.
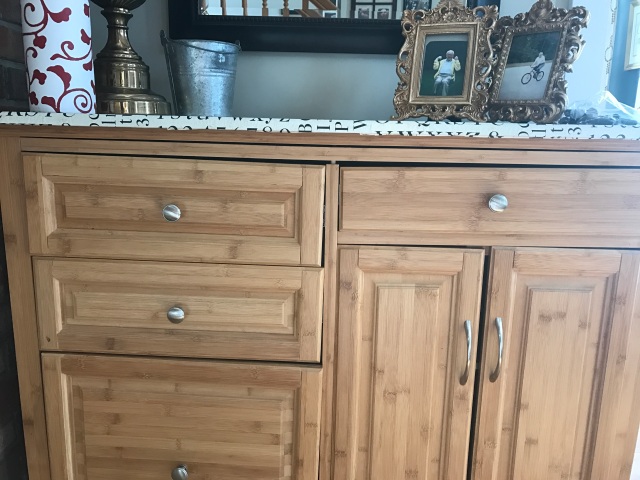
omg you can even see the little pegs holding things together… she’s gonna blow!!
Anyway, whenever we have front door guests, I always wish we had somewhere they could sit down to put their boots on or take them off and hang their coats and hats and scarves. I finally decided to do something about it. Enter Christmas, 2016, the motivator. I got some new power tools and some new ideas and some new confidence. And of course, Ana White has plans for everything, so last week I jumped in.
I learned so many things building this bench. I have a love/hate relationship with the internet and Pinterest (that, I did not learn. I already knew that.). It seems like “hey, these are all square cuts” and “hey, these plans seem simple,” but it rarely is. And there are so many little steps left out and things I just don’t know how to do because I’ve never done them before. But hey, if I can help you out, it’s a win. So let’s get to my lessons learned and how I did this.
The plans I followed are here: Ana White’s Rustic X Console table. However, I originally saw it here, half the height and used as a bench at the end of a bed, and I went with the suggested height alteration of 18″. I also altered the width to fit my space. My bench is 42″ long. Oh and I also checked to make sure that the X’s were just decorative. They were intimidating me a little too much so I just left them off.
Take the truck. If you can, take a truck, or at least a long vehicle. I had an interesting ride home from the hardware store with these 8-foot puppies next to me. But if you don’t have a truck, truth is, you can do it with a small car too. Just gotta be prepared for a slower ride. And maybe some sideways glances from strangers.
Buy the straightest wood you can find. Have you noticed how instructions always seem to glance over this really quickly? Maybe they do that because it’s a “duh” thing that they figure needs zero explanation or emphasis, but I never understood how much of a game changer it is. I spent a long time digging through pieces of lumber and laying them down on the floor, looking down them, flipping them on all edges. General poking and prodding. And even then, I still got some warped and twisted pieces. I think next time I won’t go to a big box store; I’ll try a local lumber yard and possibly get one step up from the cheapest wood. I might make a whole post on this subject because it’s important and I’m pretty sure I’ll just keep repeating myself every time I talk about anything that I build ever. A lot of my frustrations would not have happened if my wood had been straight.
Use clamps. First step, make the long-edge frames. Yup, you guessed it, problems at the first step, which also happens to be the step that took the longest. It was really hard to screw the perpendicular pieces of wood together without a clamp to hold them in place. I didn’t have time to run to my dad’s to borrow his really long pipe clamps, but I should have just waited. Save yourself the frustration and wasted wood — get and use clamps. I made it work without them, and it resulted in pretty out-of-square work.
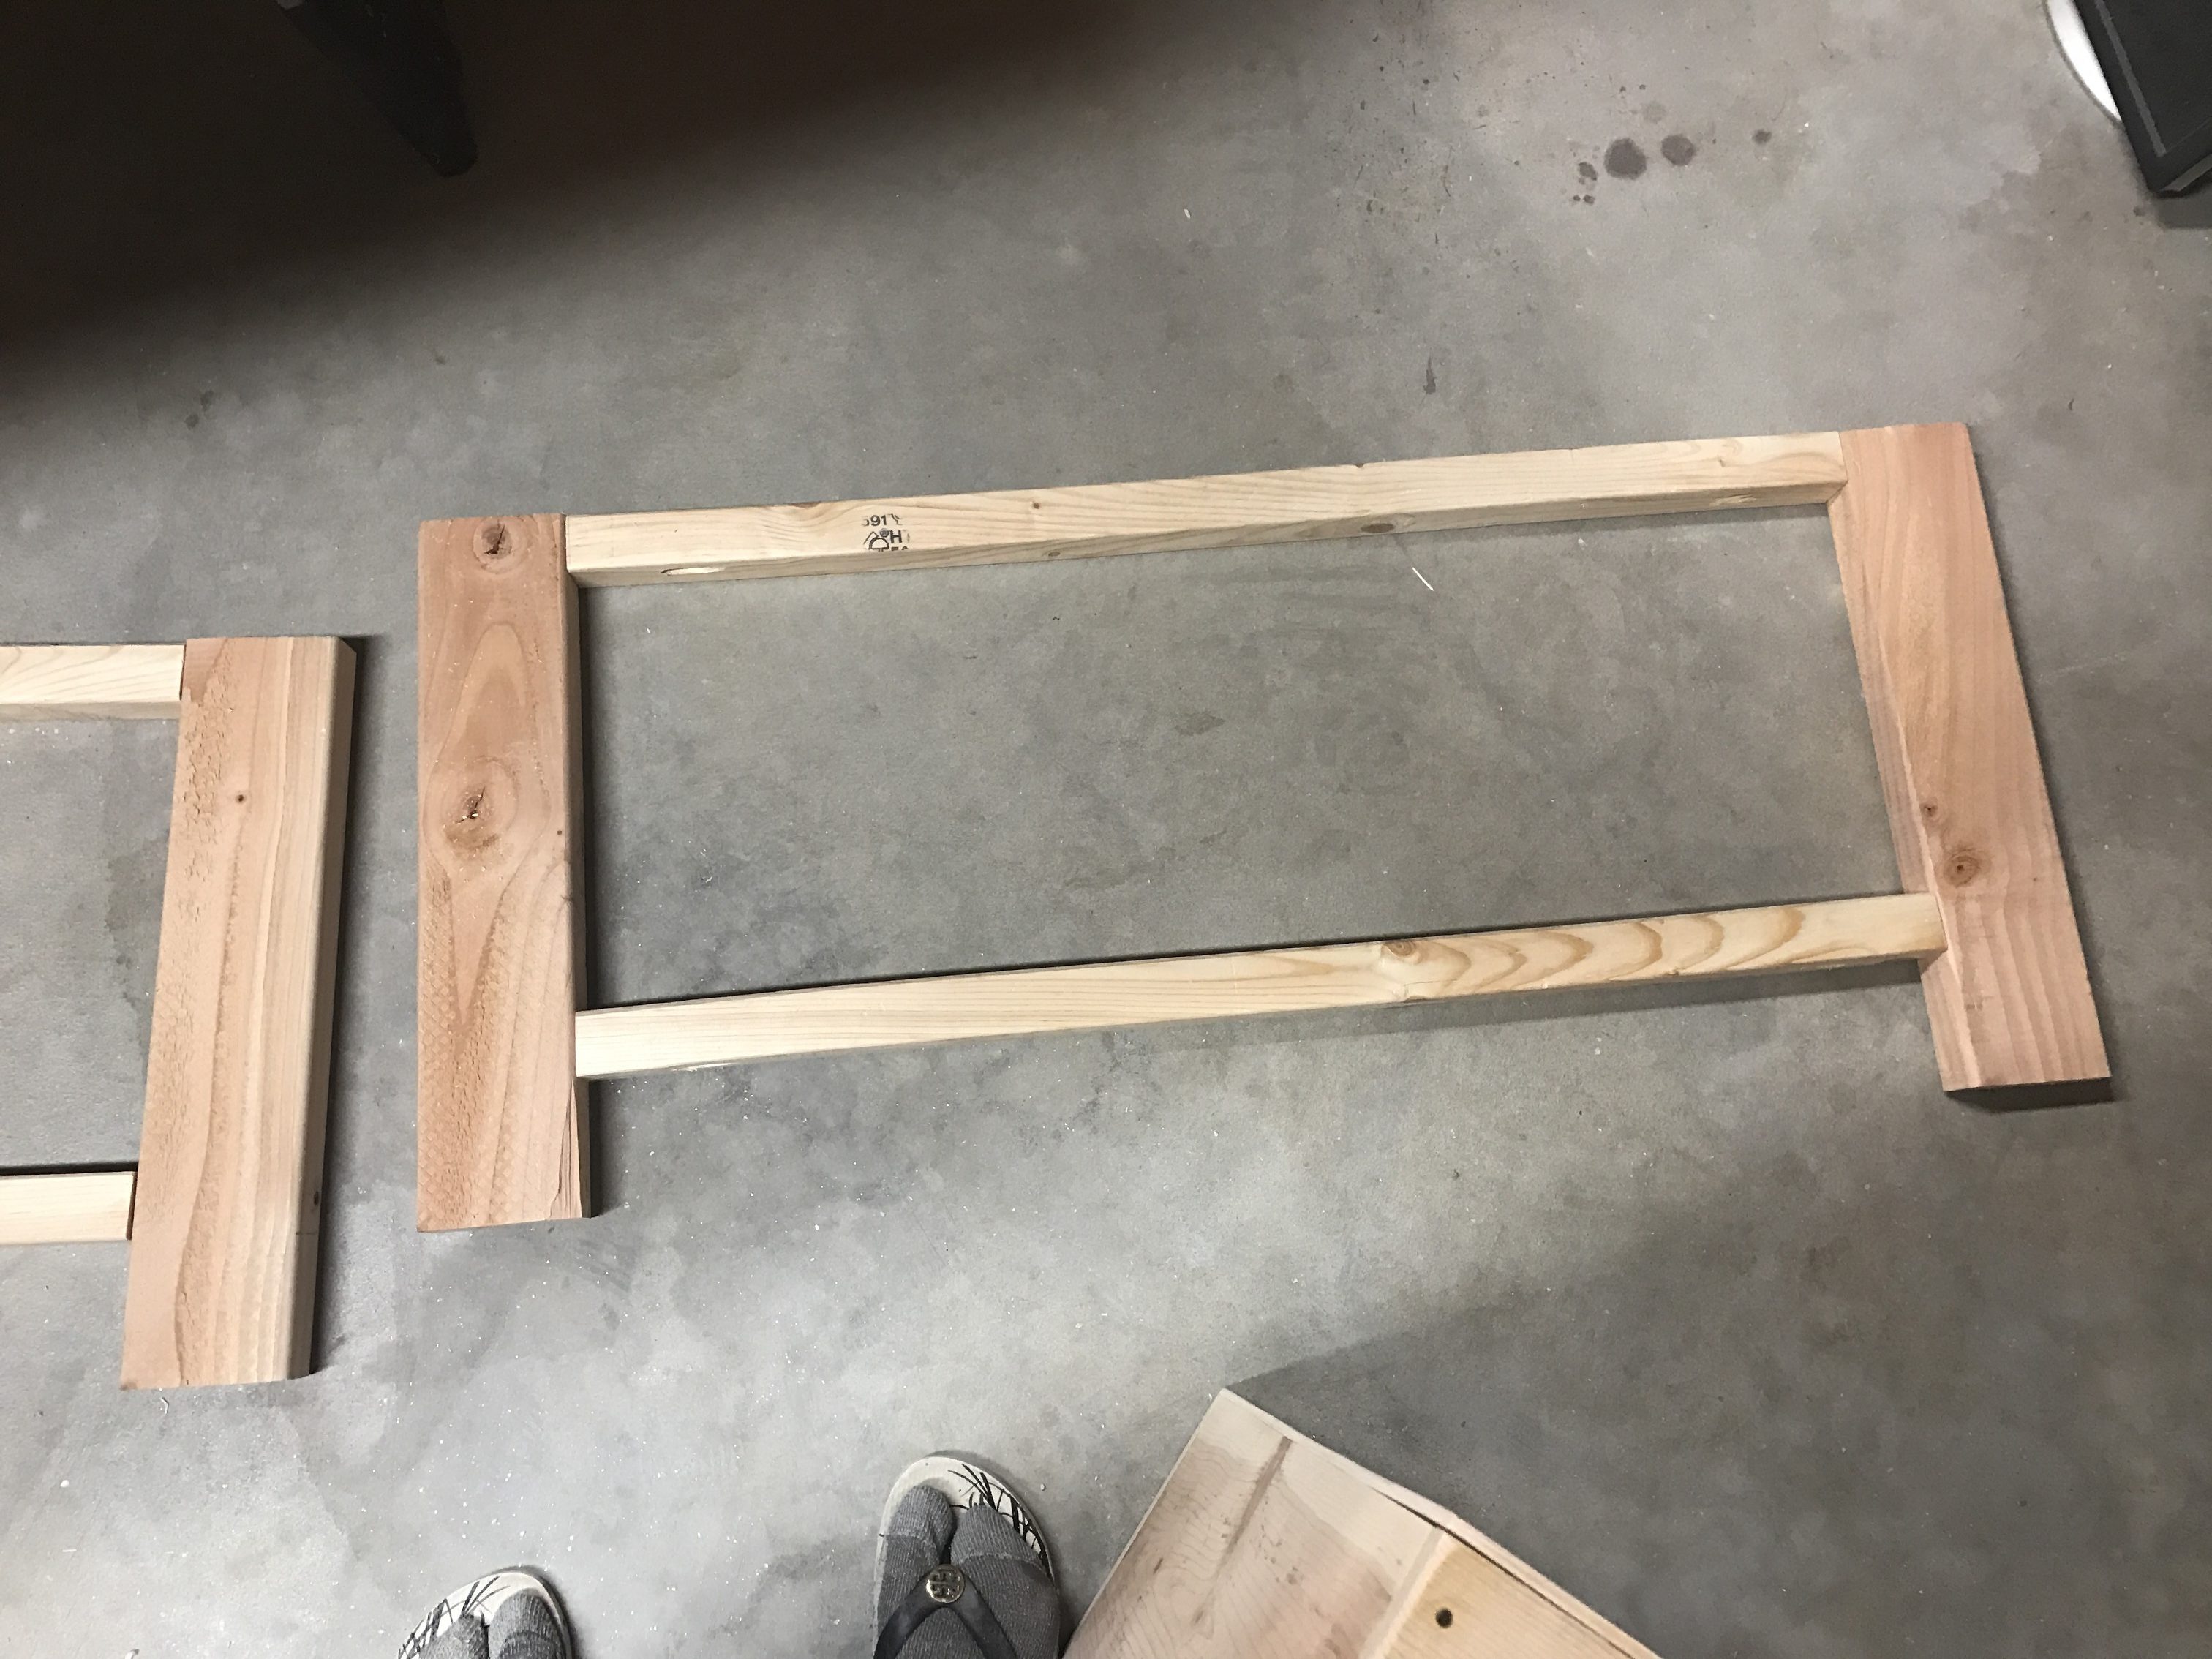
You can see how the 2x2s are not straight – check out the left ends of each piece. (Don’t mind the flip flops with socks look.)
Can we talk for a minute about how difficult it is to cut lumber to an exact length? It doesn’t seem like it should be hard, but measuring and cutting wood to an exact length seems like some unattainable, unrealistic thing. And if I get it to the right length, good luck to getting a second one the same length! And it’s super irritating. This affects my joints and squareness of the piece, too. I guess practice makes perfect!
Practice on test wood. I need to vent about pocket holes. I am an instruction-reader. I mean really. I read them word for word, I make sure I can identify the pieces drawn in the diagram, I read all the safety precautions, I do dry runs if I’m learning how to use a power tool. (Yep. I am a dork.)
So my Kreg Jig (I have this little one). I love it. It’s enabled me to feel psyched about completing some simple little projects and keep up the inspiration. But lately it’s been messing with me. Even when I follow the instructions and set up the hole depth and screw size just the way the instructions say, it just does. not. work. The screw barely makes it out of the first piece of wood. And then other times, when I go to tighten the screw, it doesn’t tighten at all! This happened with this project. I followed Ana’s instructions for pocket holes and screw length, and it just did not work. The screws never even made it more than an eighth of an inch into the wood it was joining with! Good thing I tested on scraps. I highly recommend you do this. I wound up having to fiddle with the pocket hole settings; I drilled holes with the setting on 1 1/4″ (into a 2×4, which is really 1.5″) and used 2.5″ pocket hole screws. This worked well.
But anyway, back to business.
Add glue before you clamp. So enough about the first step. Step 2 was equally vexing for me, although probably would have been comical to watch. Part A, drill pocket holes. Tested, drilled, done. OK, feeling confident. Part B, drill the shelf onto your frames. OMG. Clamping by yourself is impossible. I bumbled around for so long, and finally figured out I had to turn the whole project upside down, stack some scraps underneath both ends of the shelf, and then loosely clamp the board into place before adjusting.
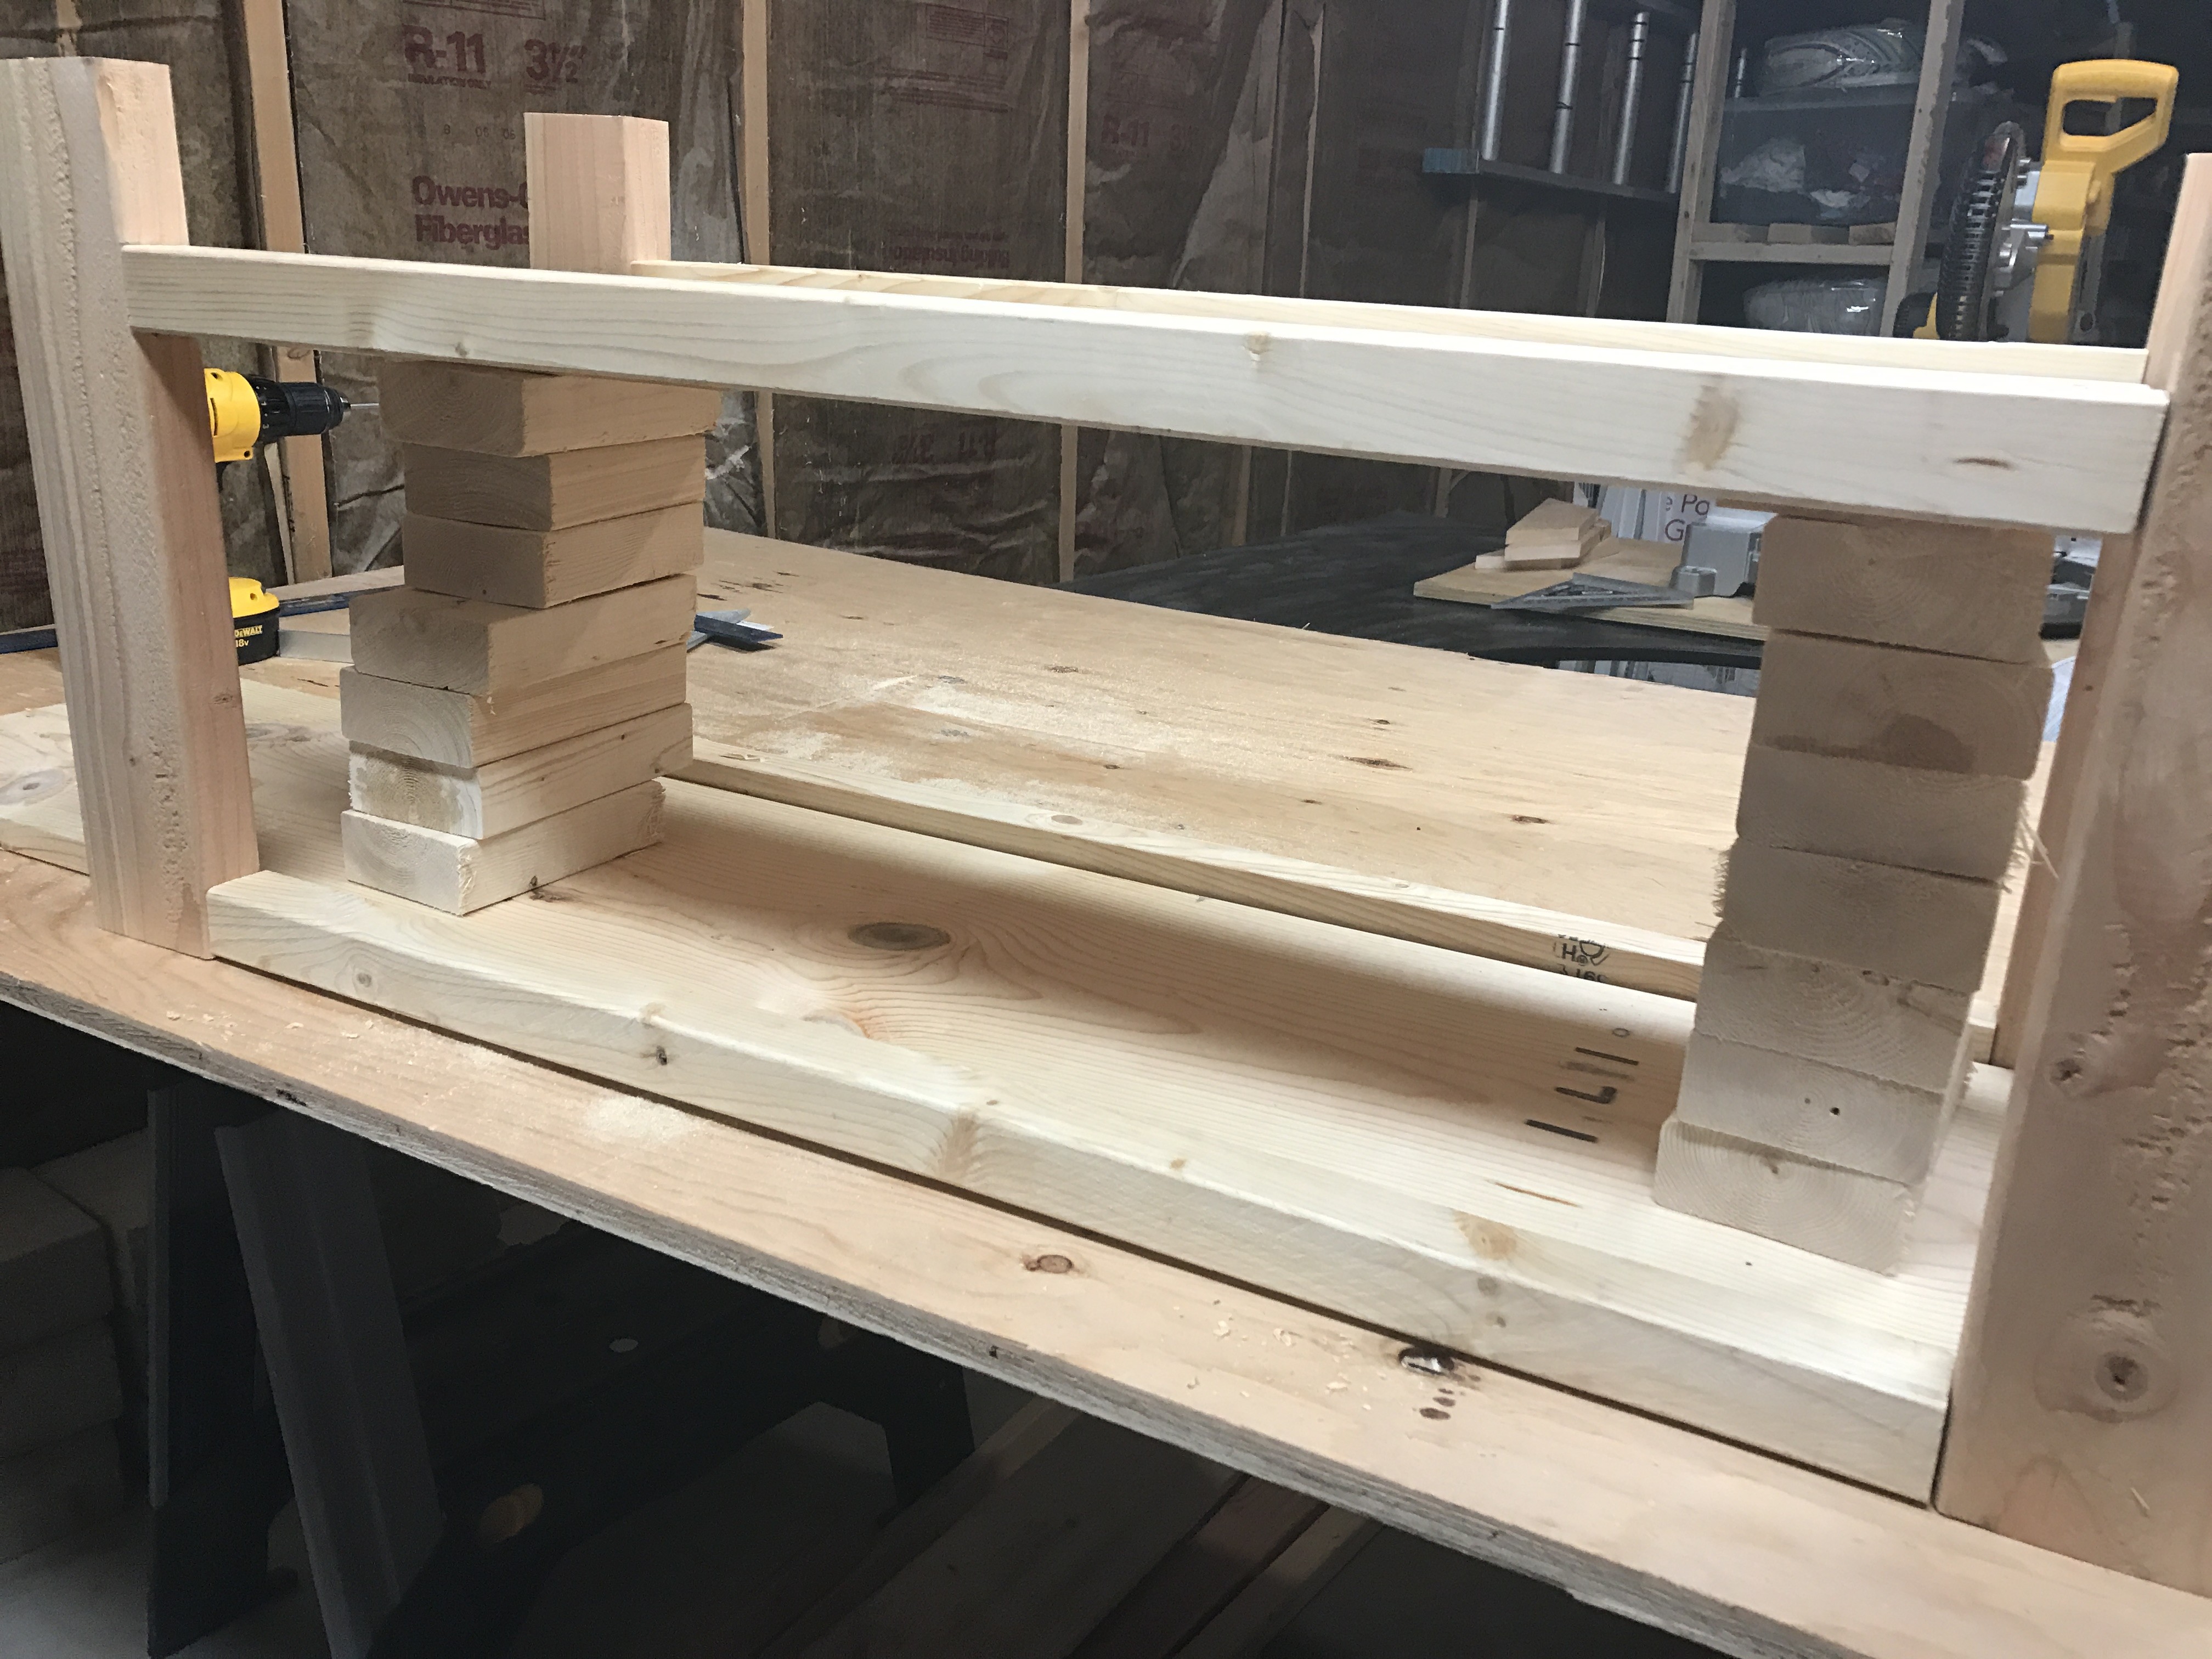
And don’t forget to add glue before you clamp. Ugh. You guys. I had the whole thing — finally — clamped beautifully. Tight. Square. Level. (Well, as square and level as it can be with bent wood.) This is where it gets funny: I had to take the whole thing apart, and the shelf was balancing on the wobbly piles of scraps and it fell. So I had to reclamp the whole thing again (not a short process), this time adding glue when I could.
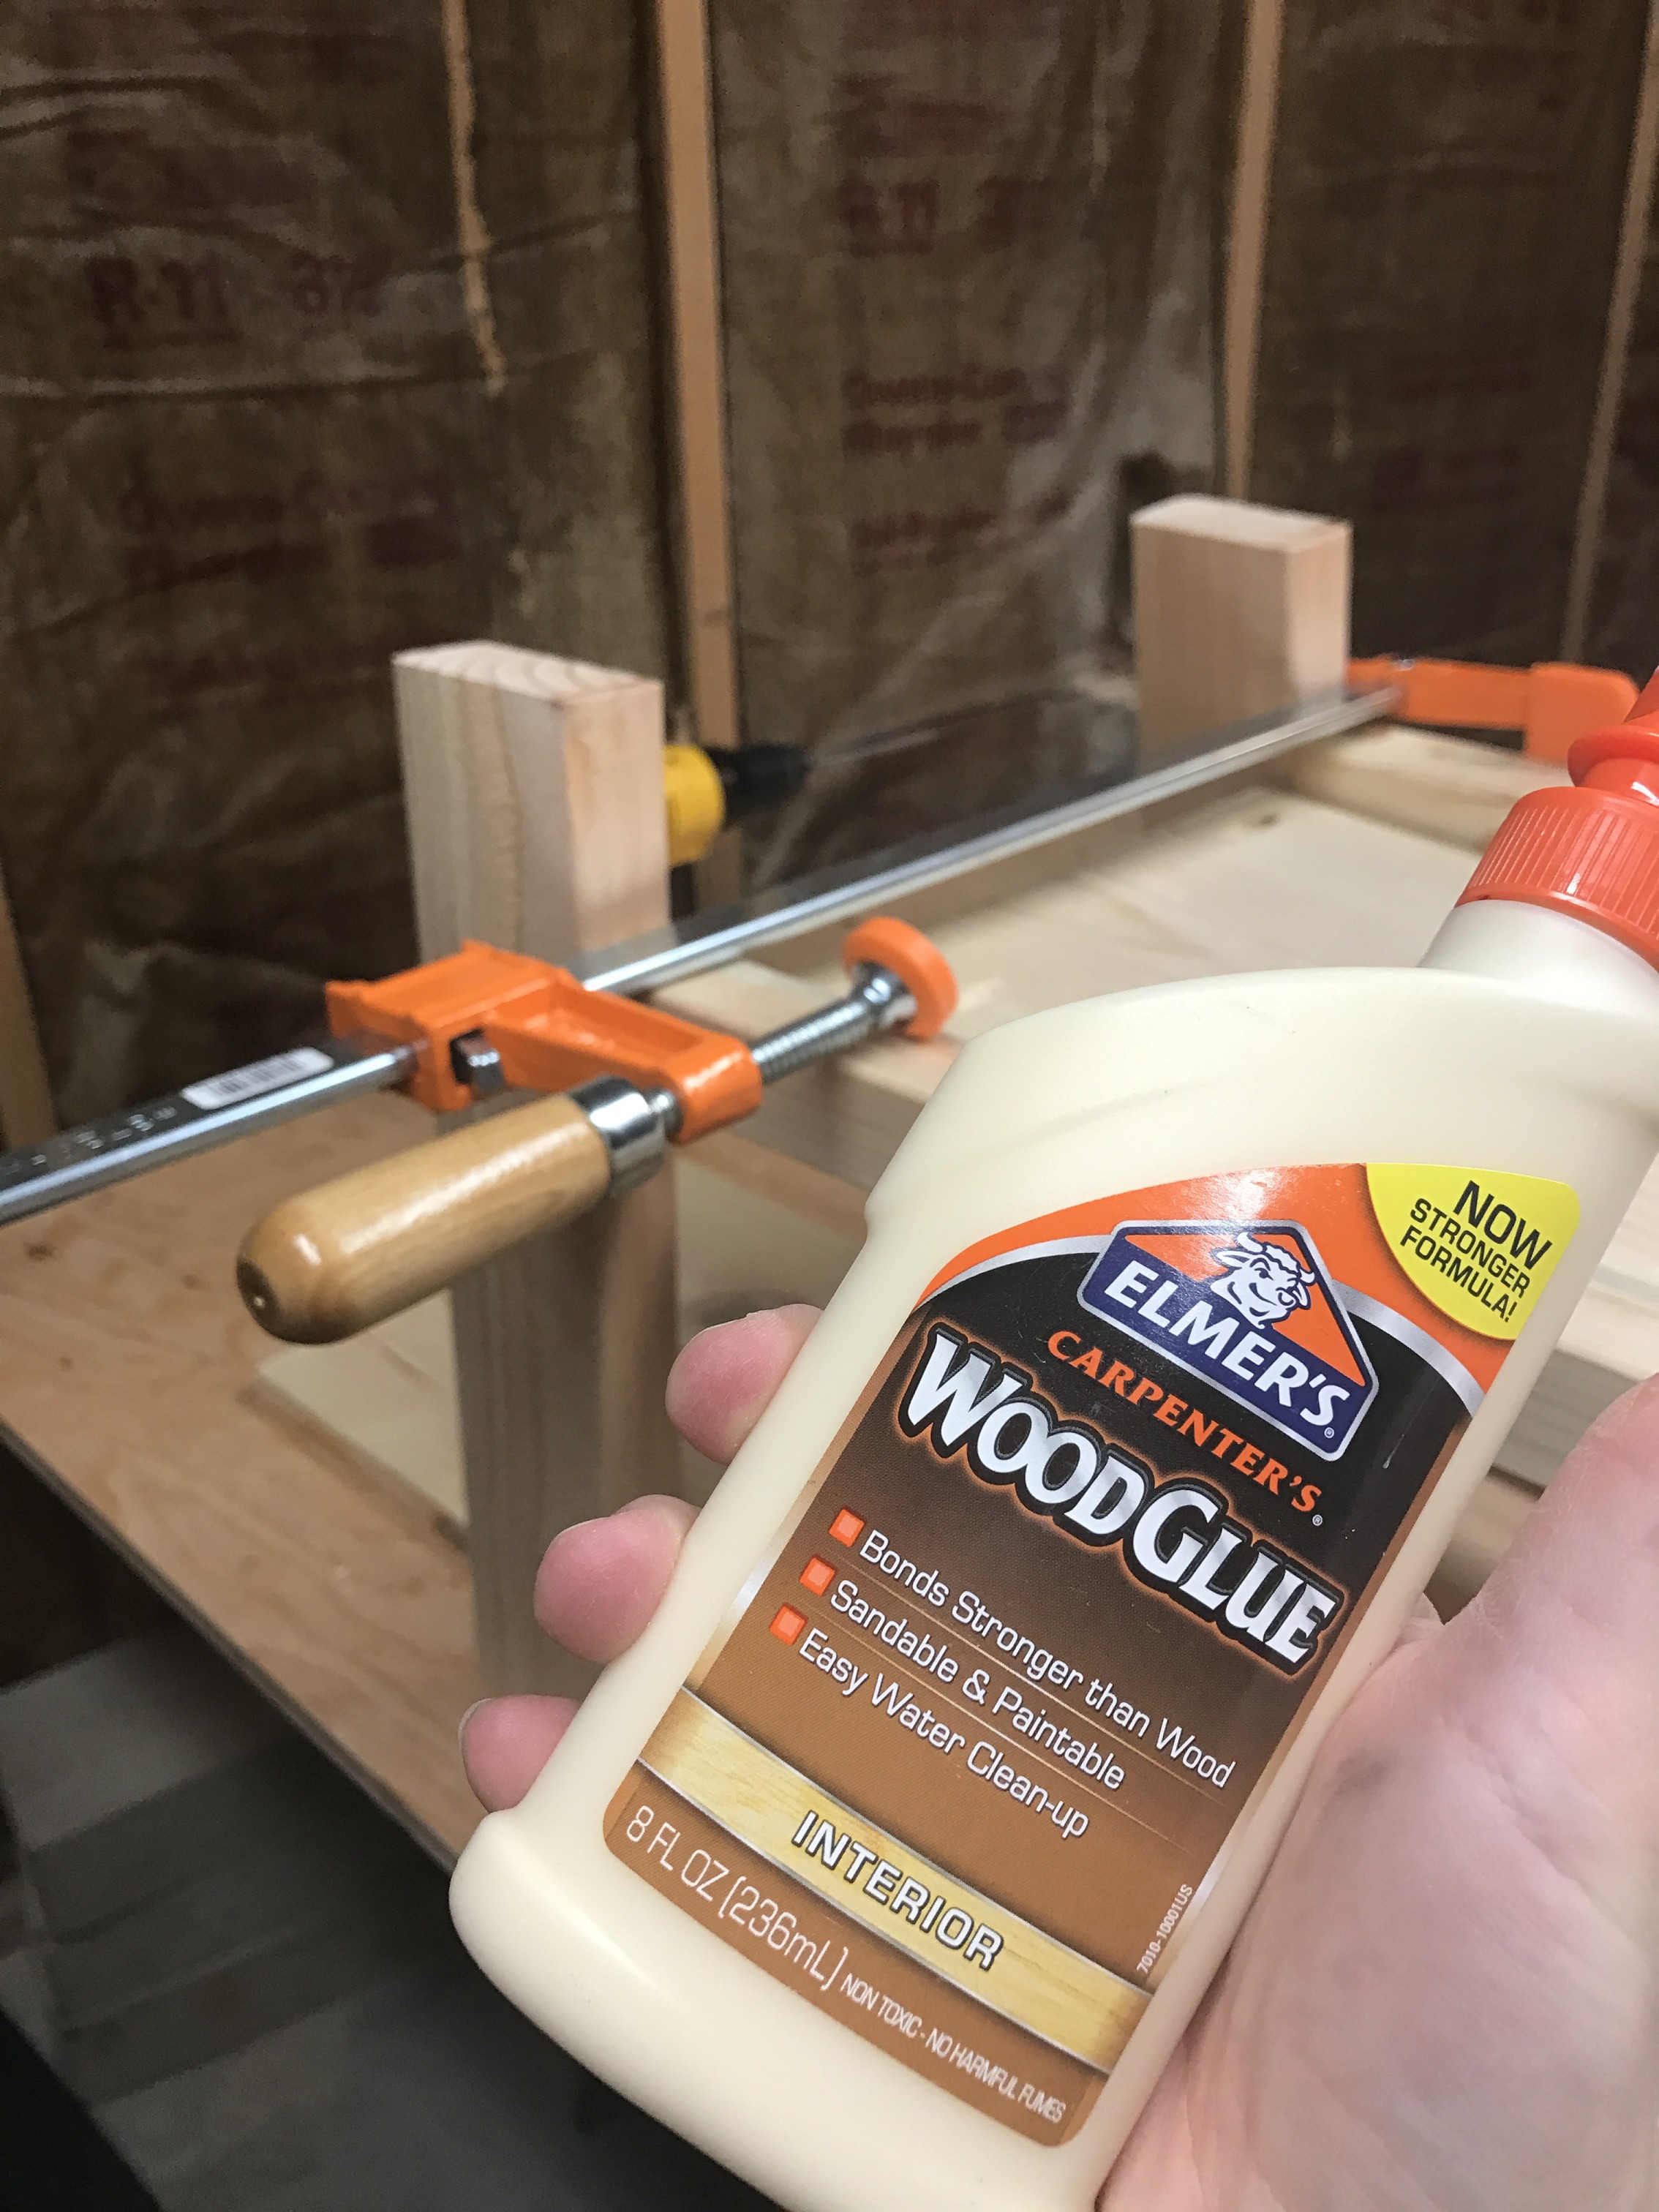
Shoot. Don’t forget to glue.
To get the shelf adjusted right where you want it after it’s in place and before you tighten those clamps all the way, use a scrap piece of wood and a hammer. (Unless you want you wood to look beat up, which is totally a thing.)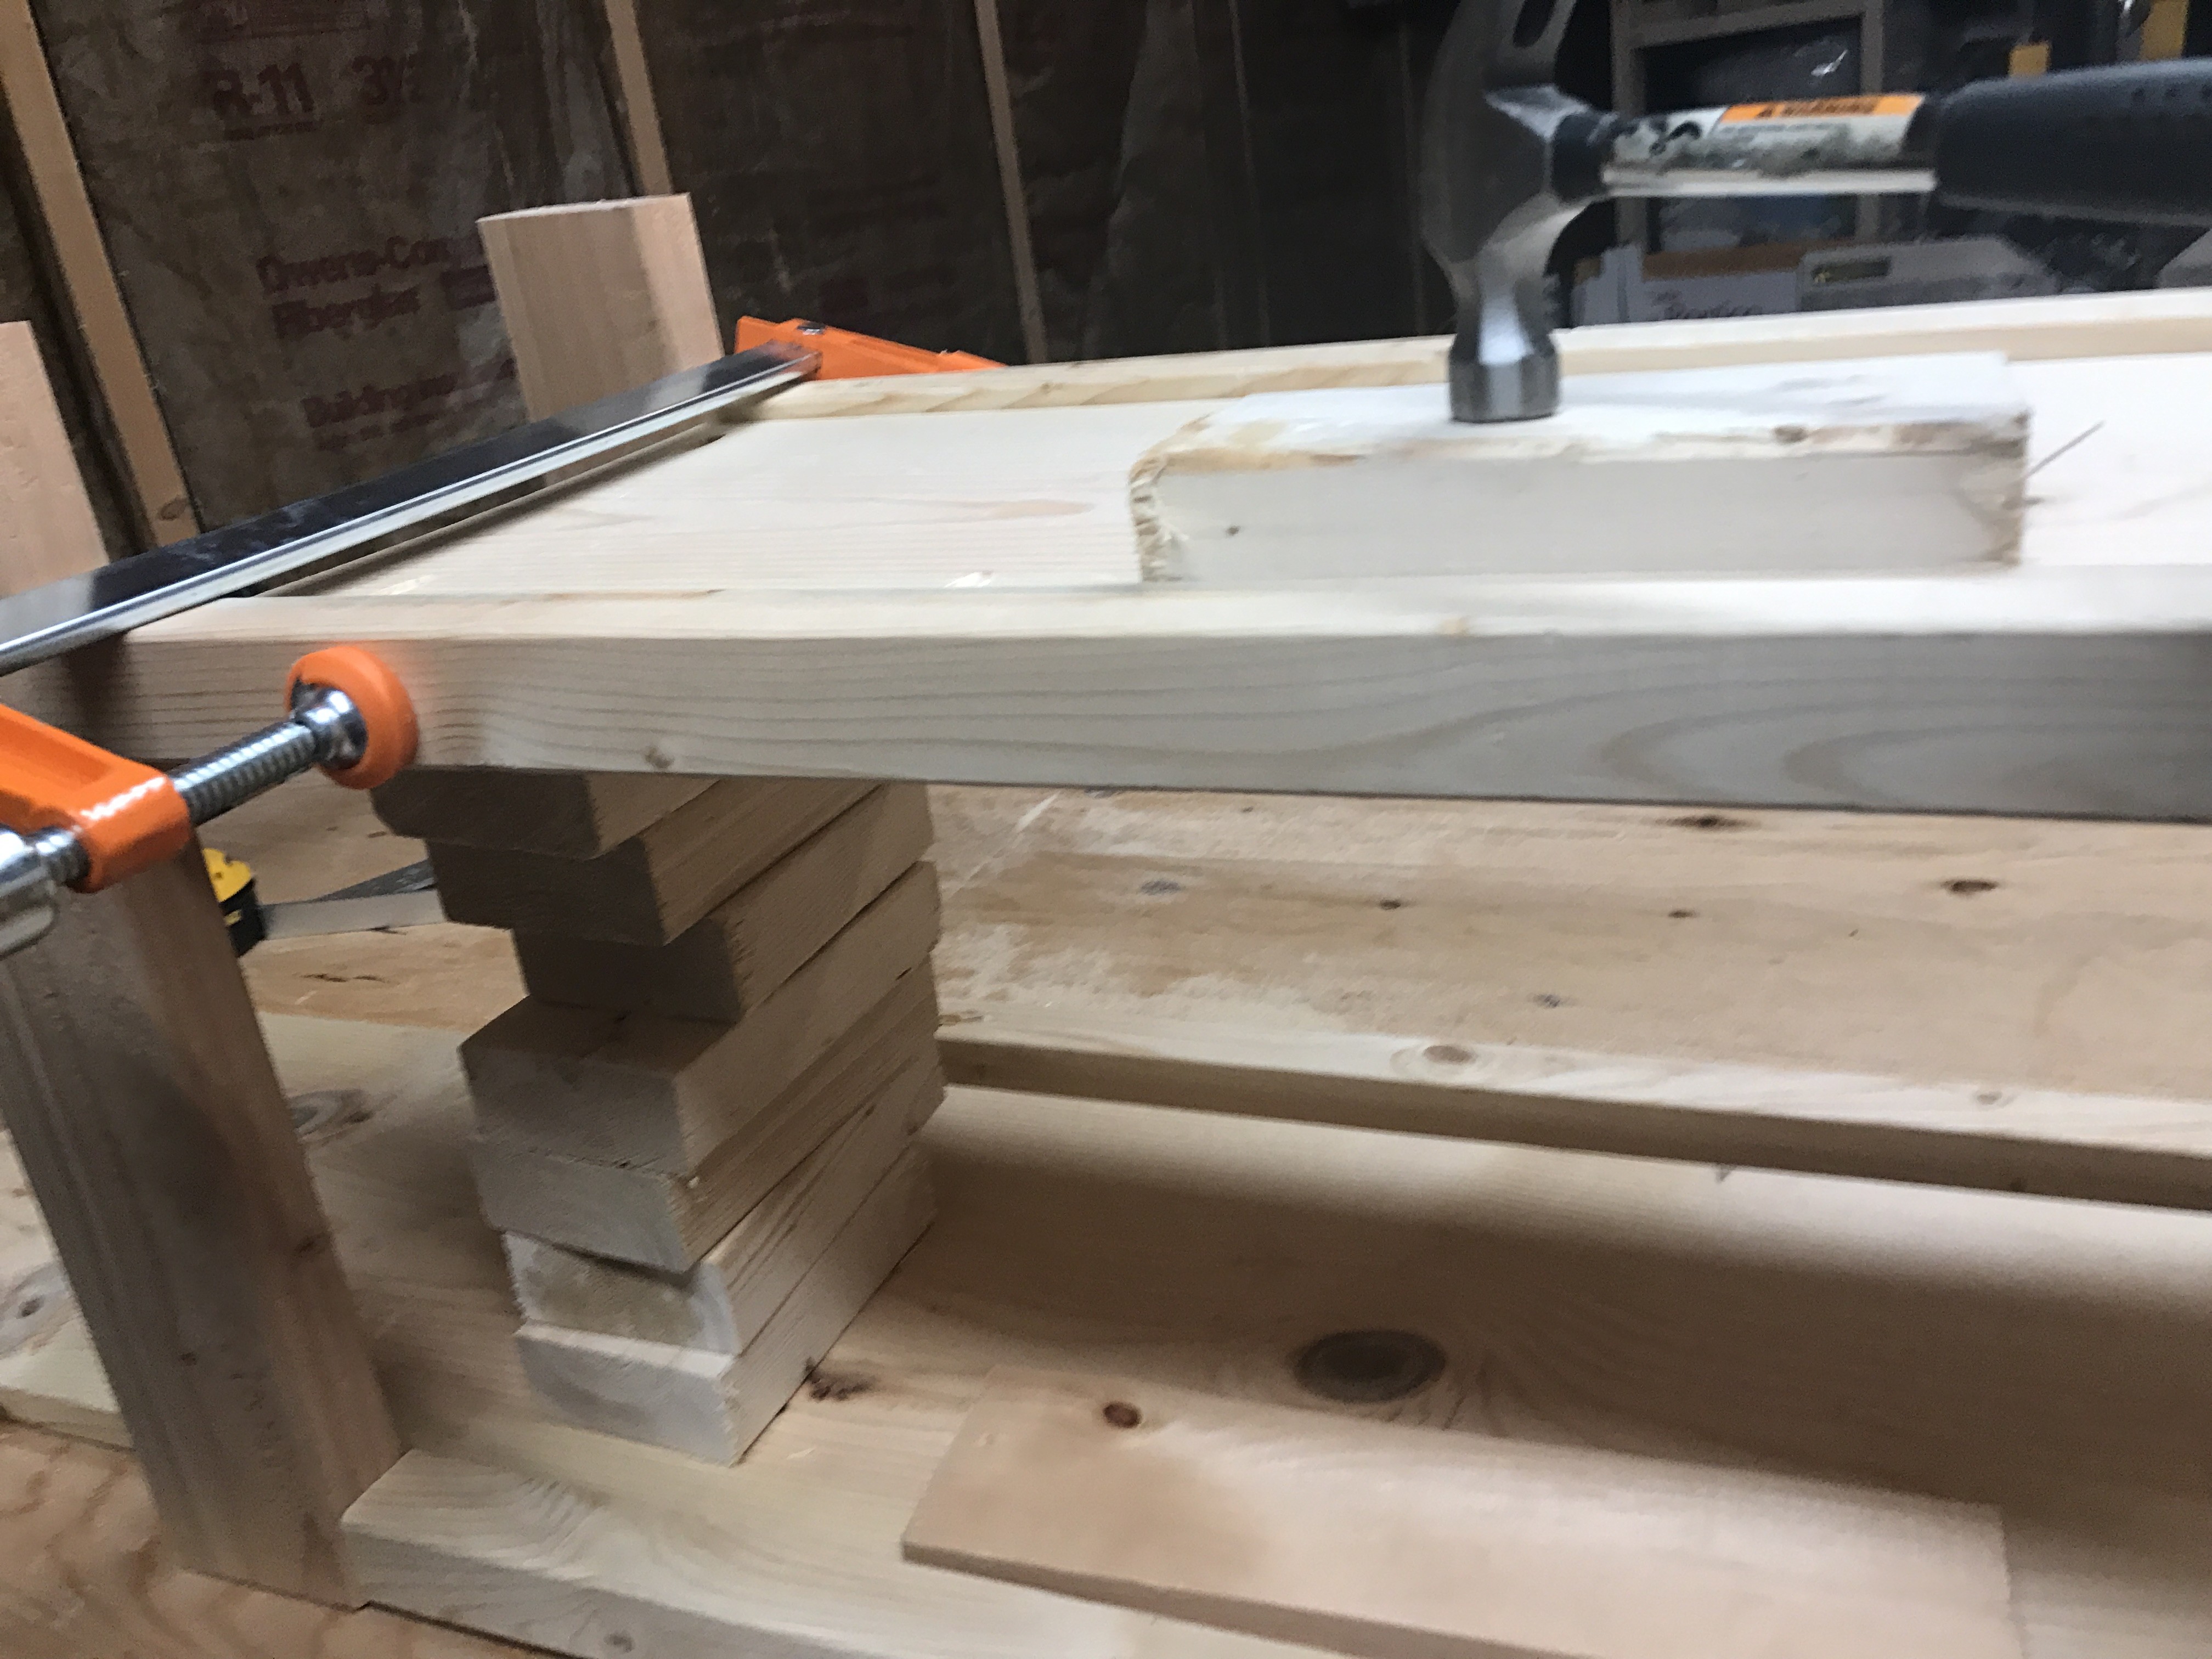
Here’s the clincher: I forgot to check for square. UGH! At this point I’m thinking well … good thing the wood only cost me 20 bucks, because this is shaping up to be a real mess. I figured I’d use it as my practice run. (This actually does have a happy ending!)
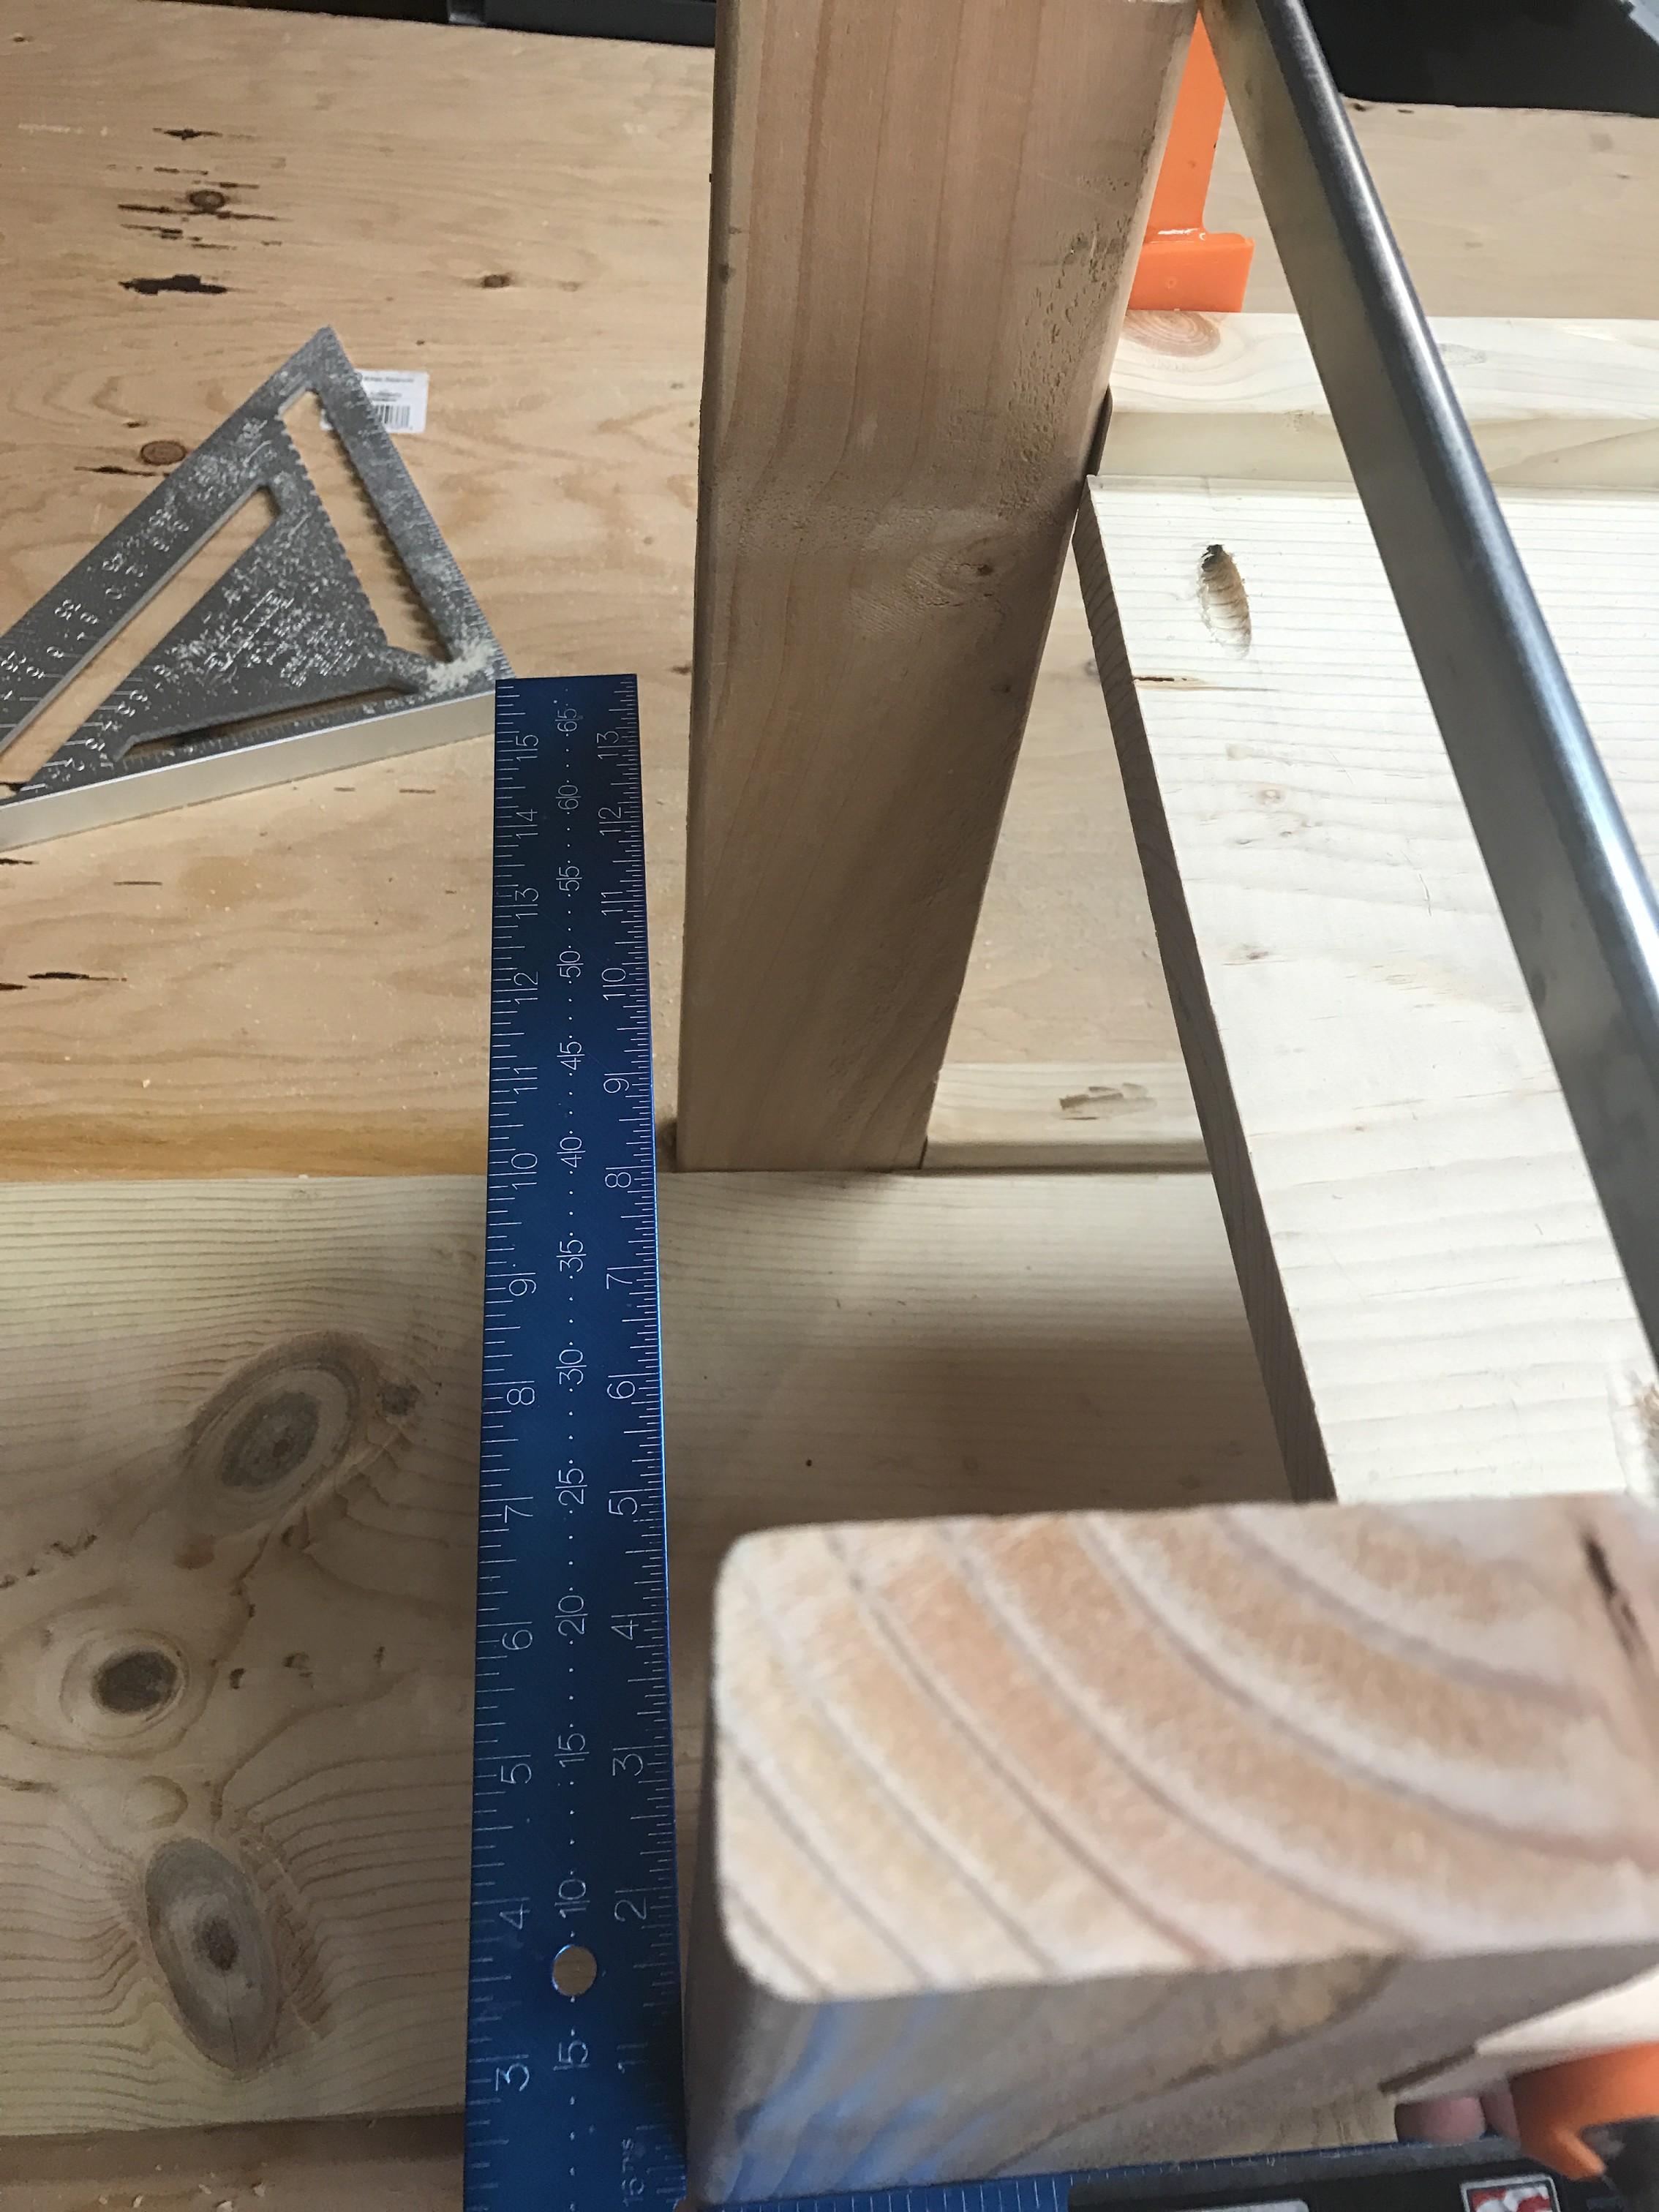
Oh my gosh. This is going to be a wobbler of a bench.
Put the clamp in the center. A note about clamping. This is another one of those things I never would have known, or would have taken me a while to realize, without my dad showing me. First, make sure the point where the clamps put pressure on the wood is in the center of the wood so you get even pressure distribution. And second, make sure if you are clamping things that are parallel (imagine you’re making a ladder), make sure there is a “rung” of the ladder at each end and be sure to apply the clamp evenly in the center of the “rung” you are clamping, otherwise the pressure from the clamps will cause the two parallel pieces to either shape into an A or a V. I’ll post some pictures about this.
OK! Step two was done. The last step was creating the top. I managed to cut my wood pretty well to the same length. (Guess I’m learning! It’s still not perfect but.) To make the bench top, these plans call for screwing the tops together with pocket holes. (See above… I had to make the same alterations to the pocket hole sizes.) Just a quick little bunny hole of a story here: 2×6’s make clamping the Kreg Jig to your work tricky if you have normal sized small clamps. I used one of my longest clamps which had longer grippy parts, too. (Am I missing something? Is there an easier way to do this?)
So I used some creative clamping to put the top together. This is another one of those things that was not obvious to me, so I thought I’d share. I clamped two pieces of wood above and below the three pieces that I wanted to make the top out of. Then I used the hammer-on-a-piece-of-scrap method to make adjustments, slowly bumping each piece into alignment with each other. UNDID IT ALL, again, added glue, did it all again, and then tightened the heck out of those clamps. Screwed it together, and back to the waiting game. Another night gone by while they dried.
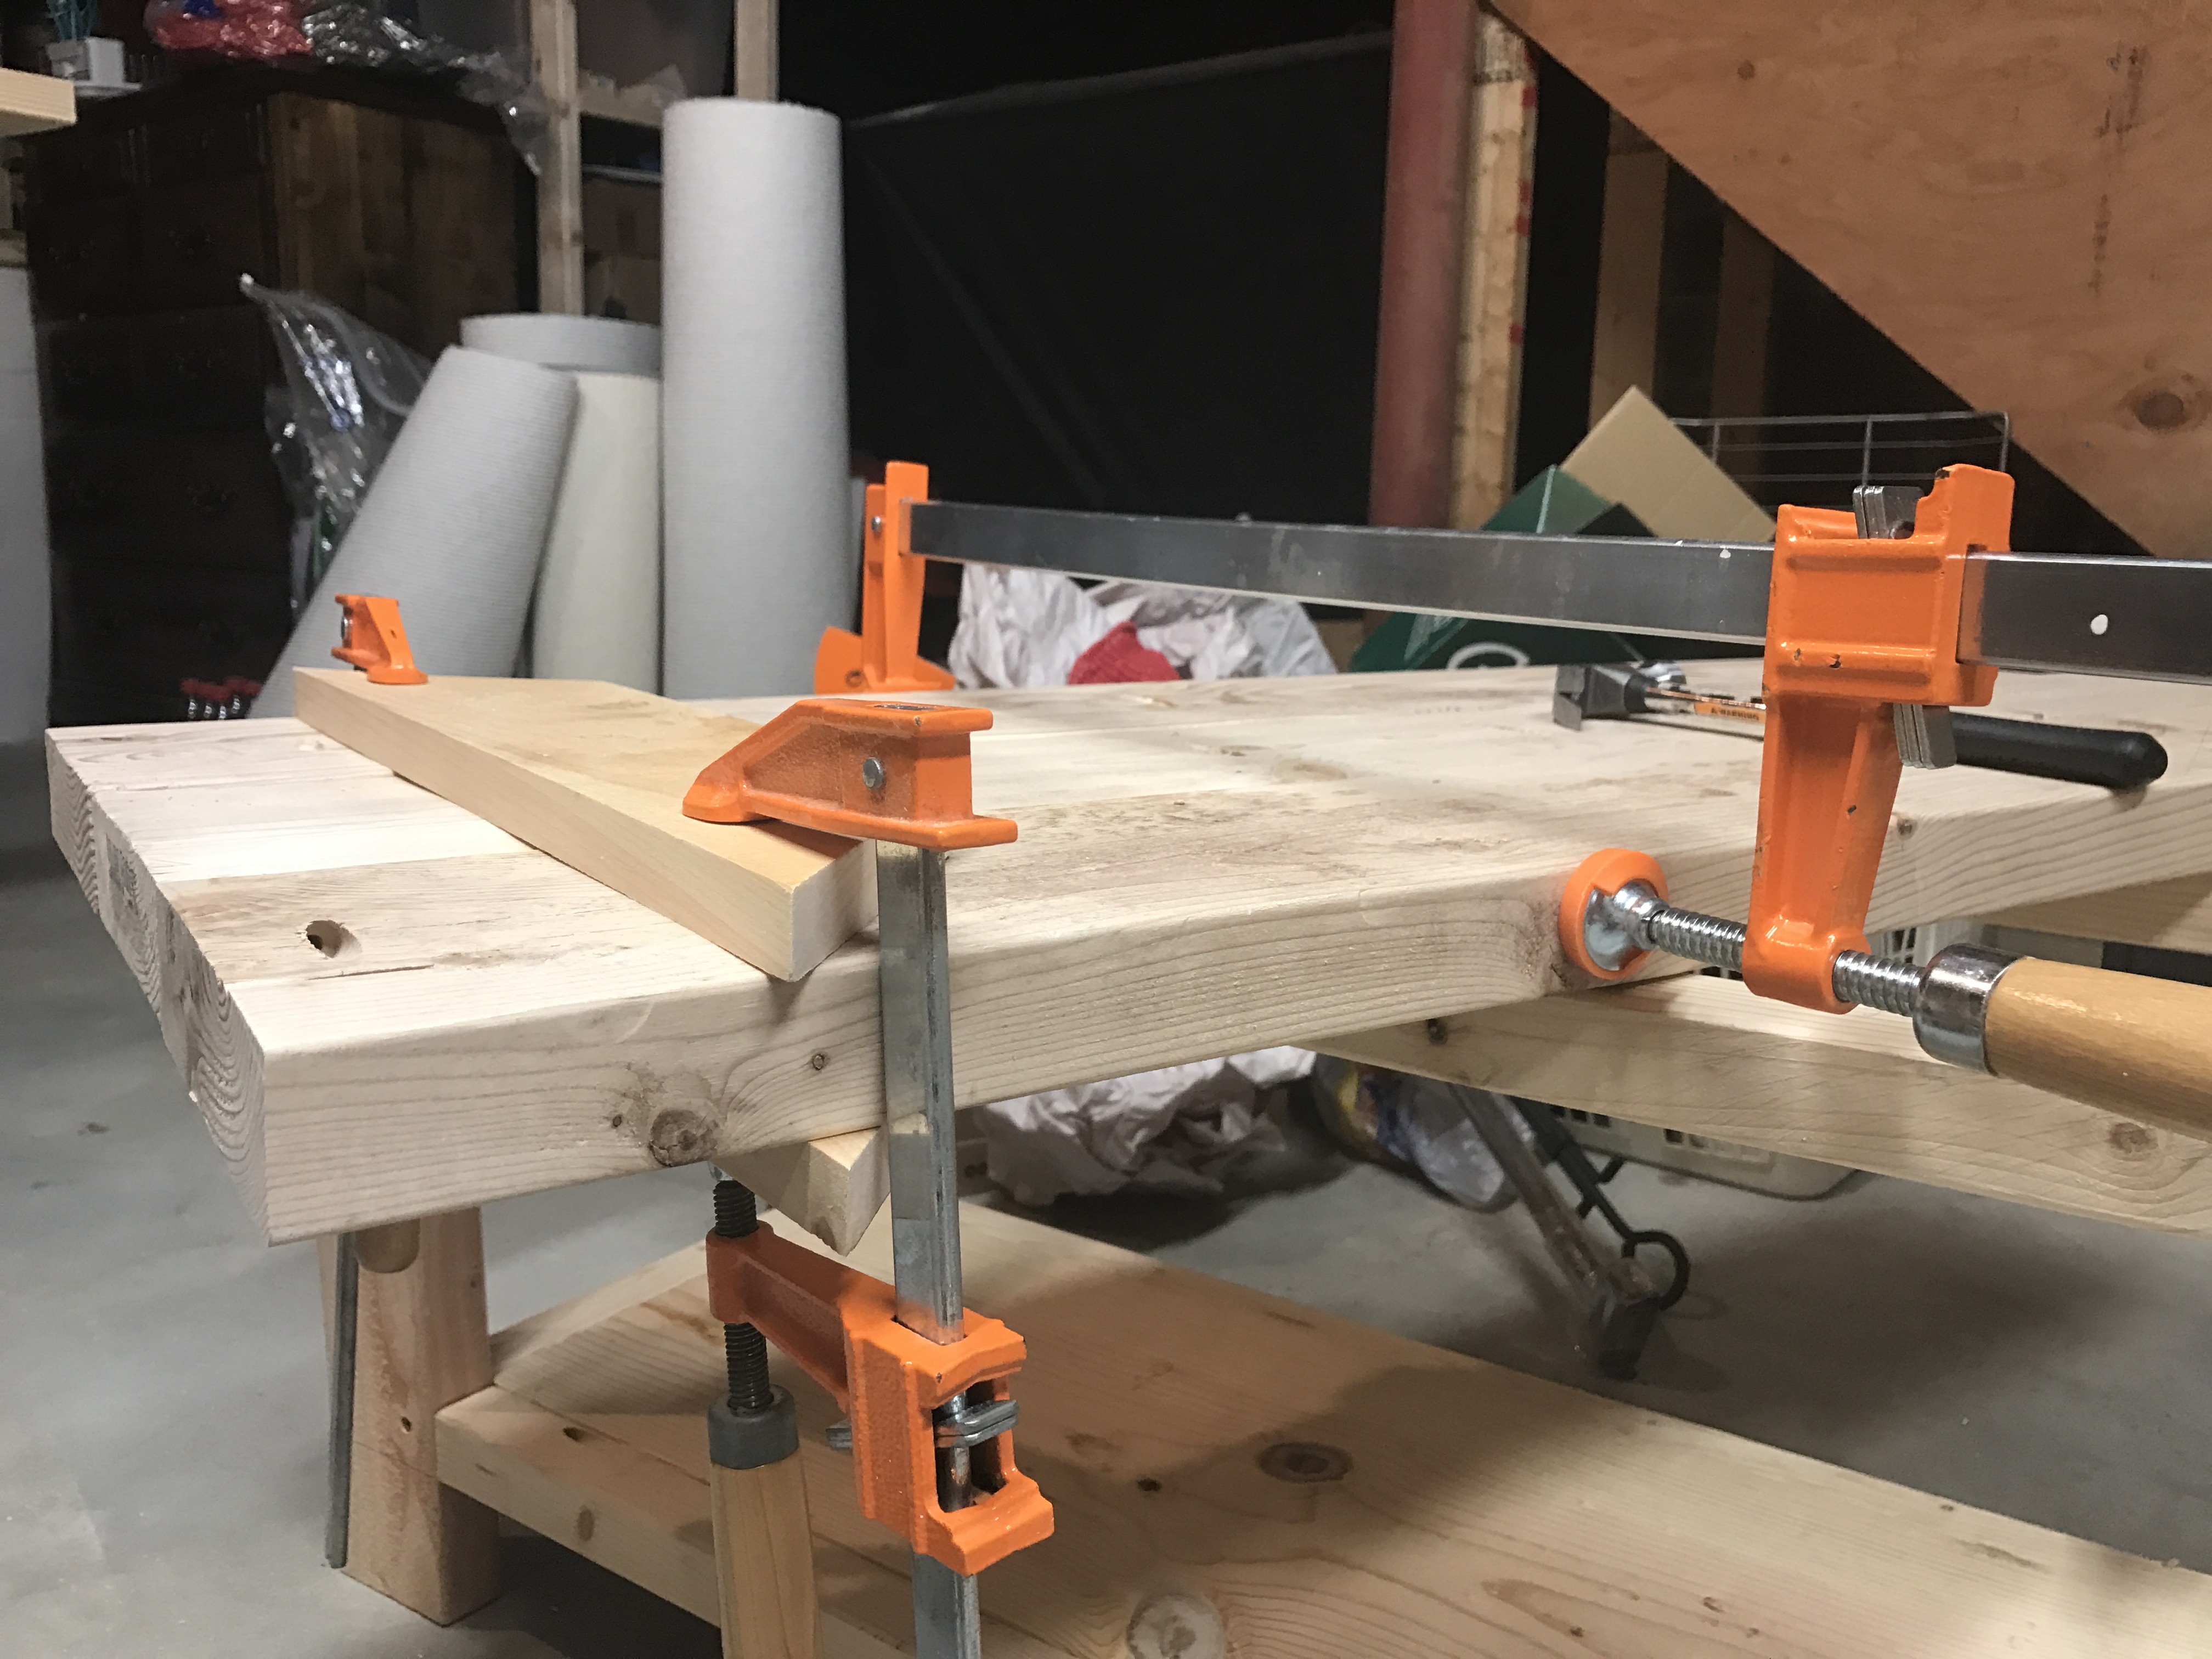
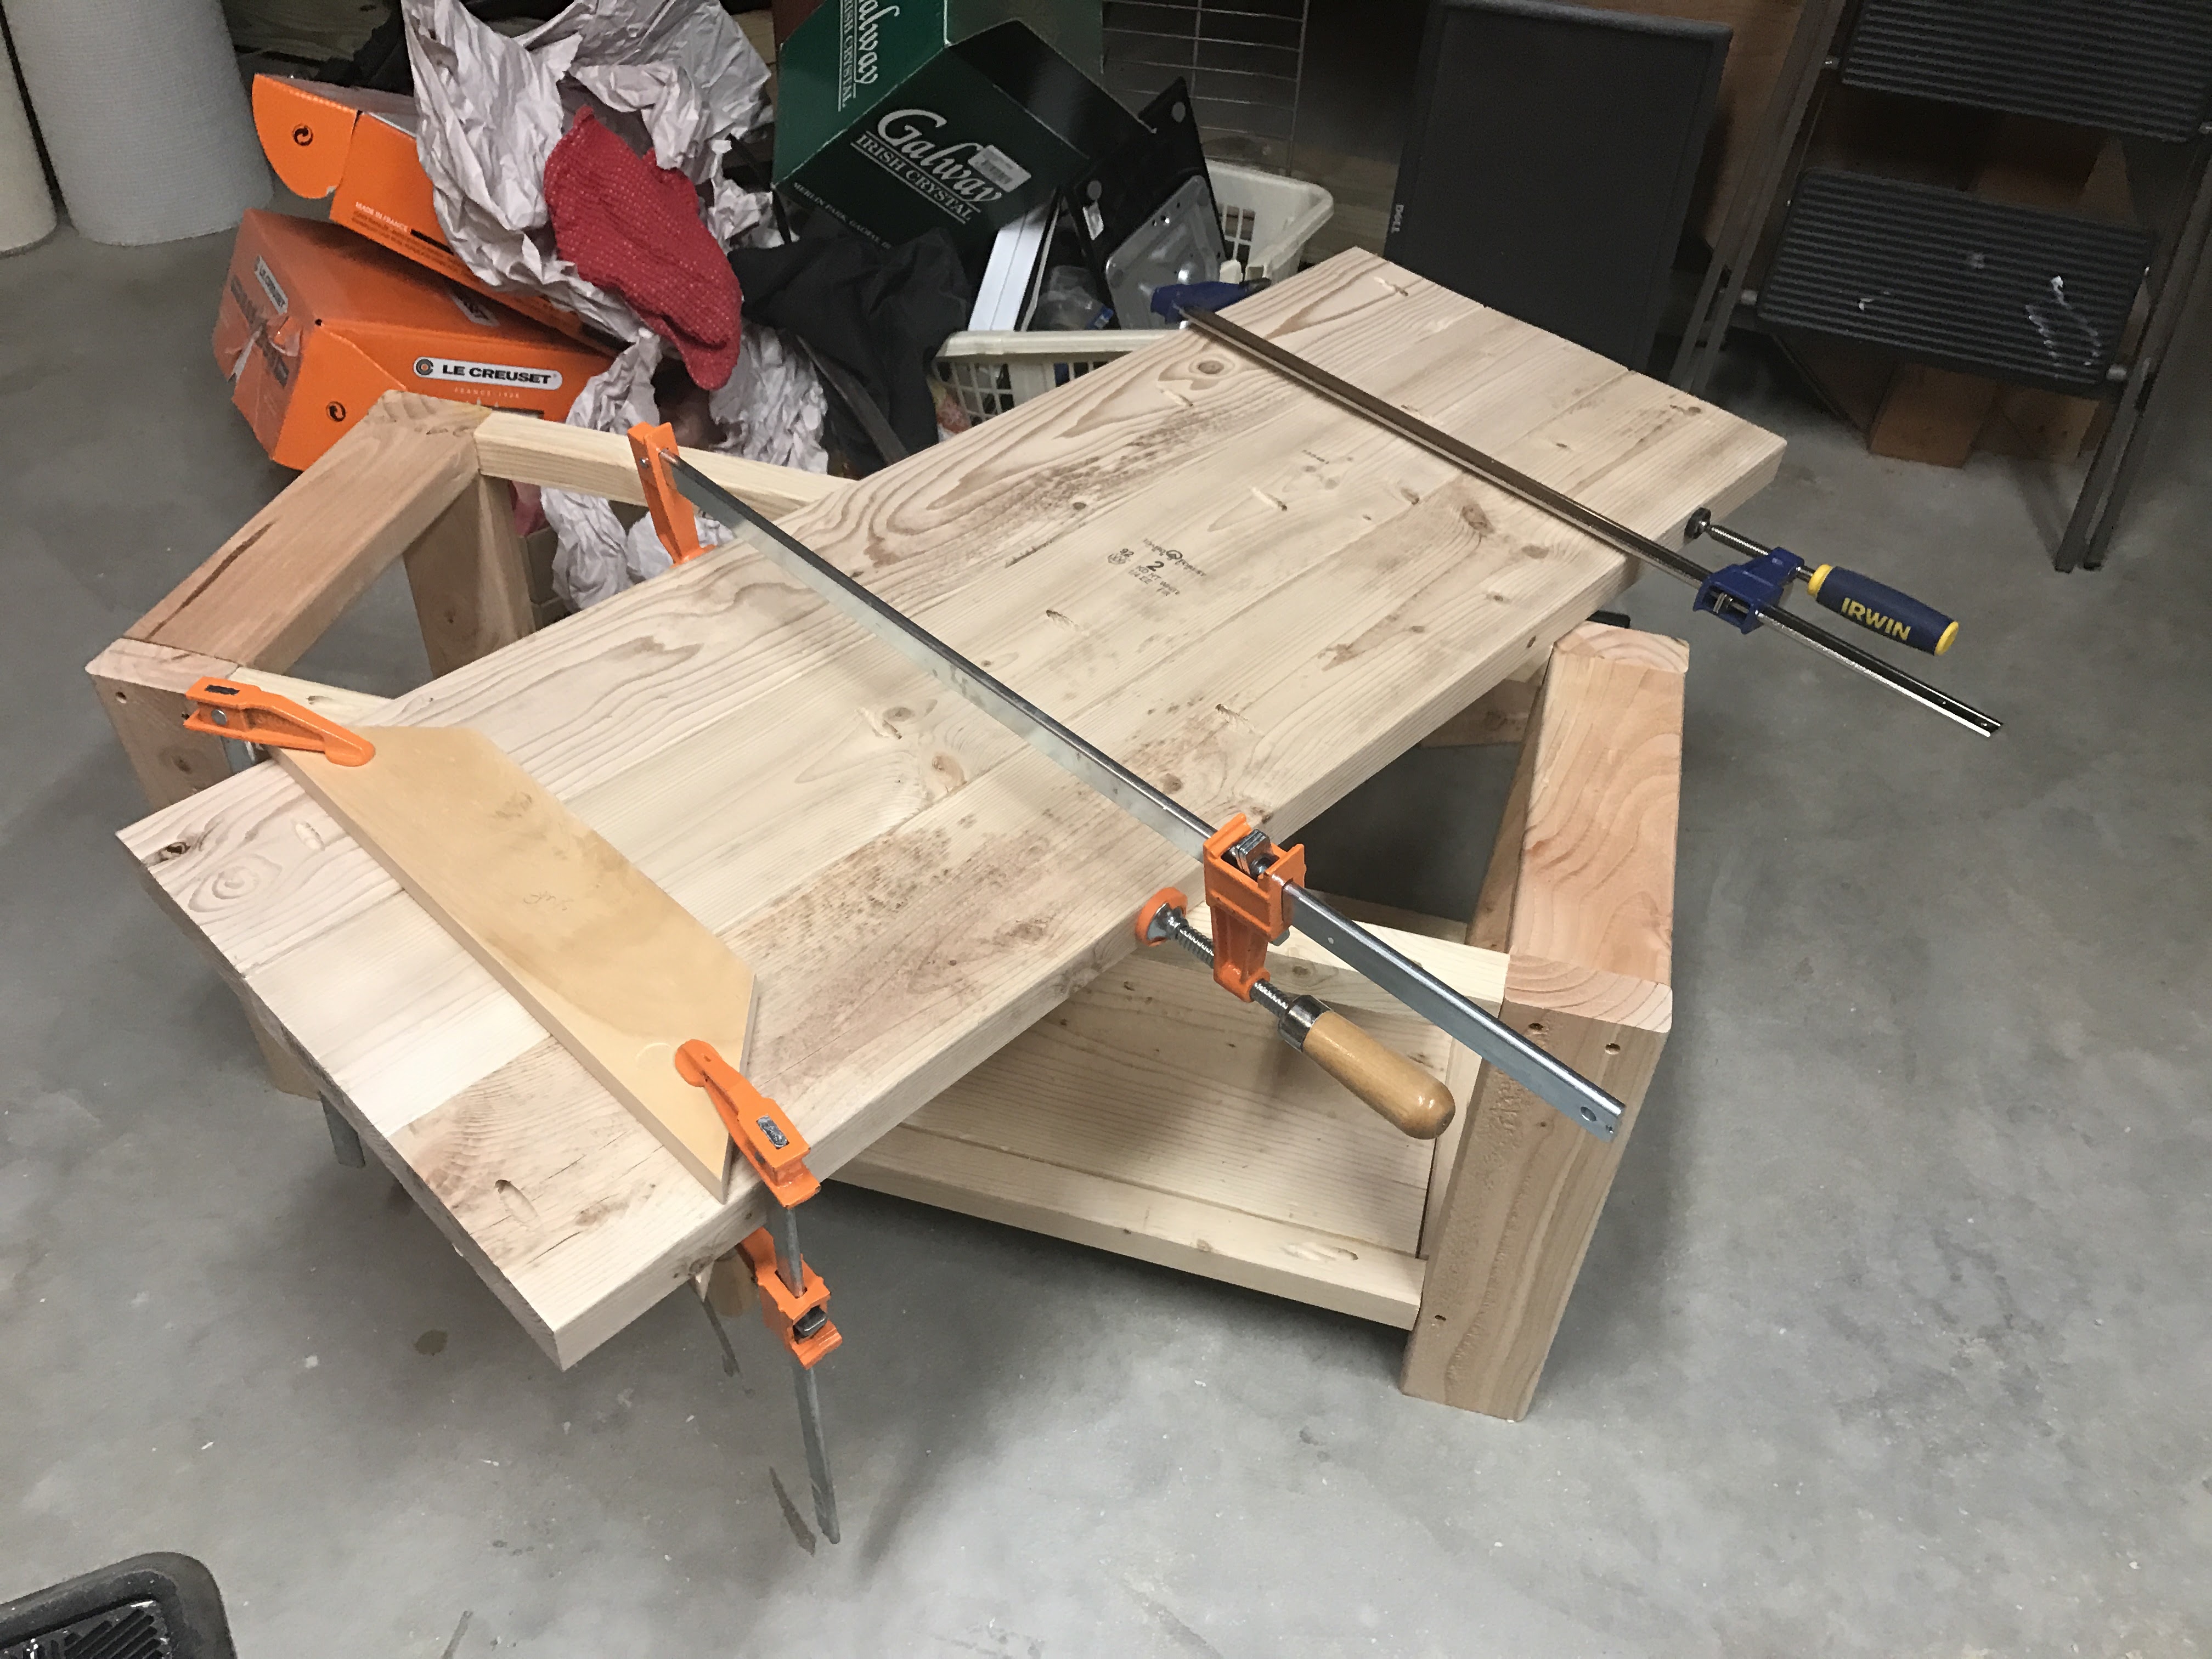
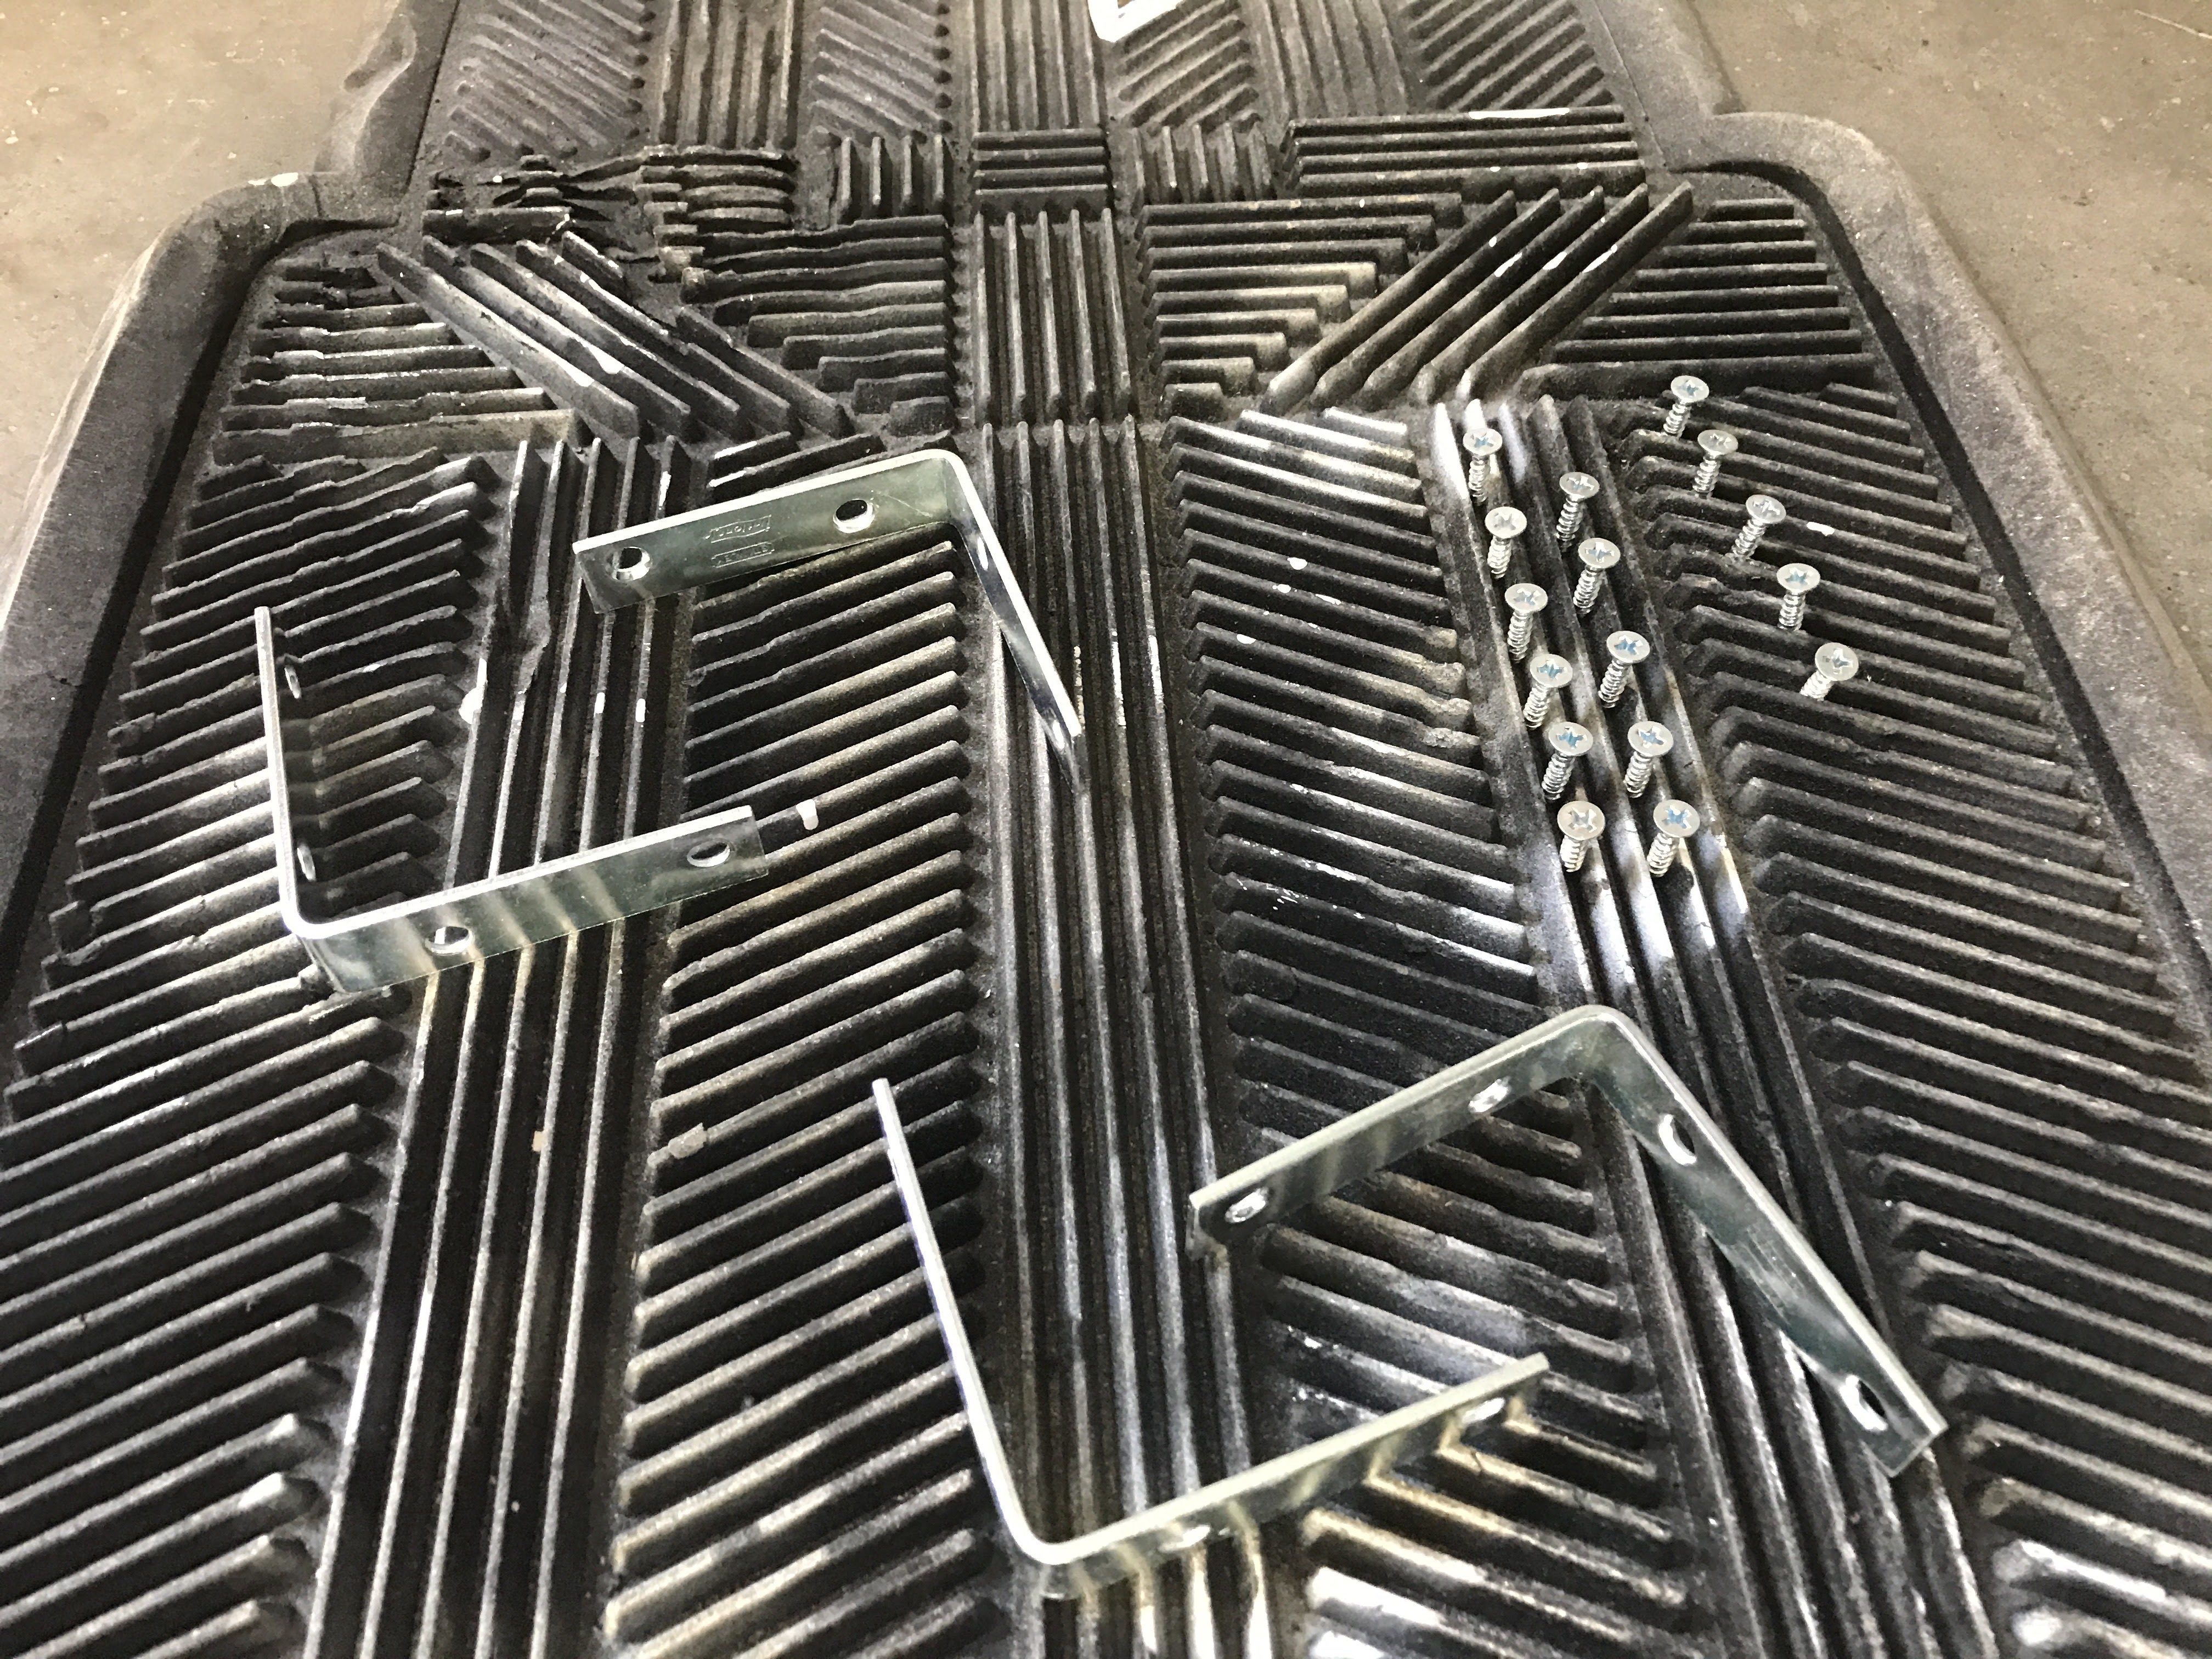
To screw the bench top onto the body, I used the self-tapping screws and went straight through the apron (slowly, and carefully!). This only took me about a half hour… squeezed it in while Virginia was napping! I also managed to fill in all the holes with wood filler and spray paint the finish hardware. Quick tips? I use an old car floor mat to spray on. It’s especially useful for holding screws upright so you can get the color on them easily.
Voila! It actually looks like a bench!
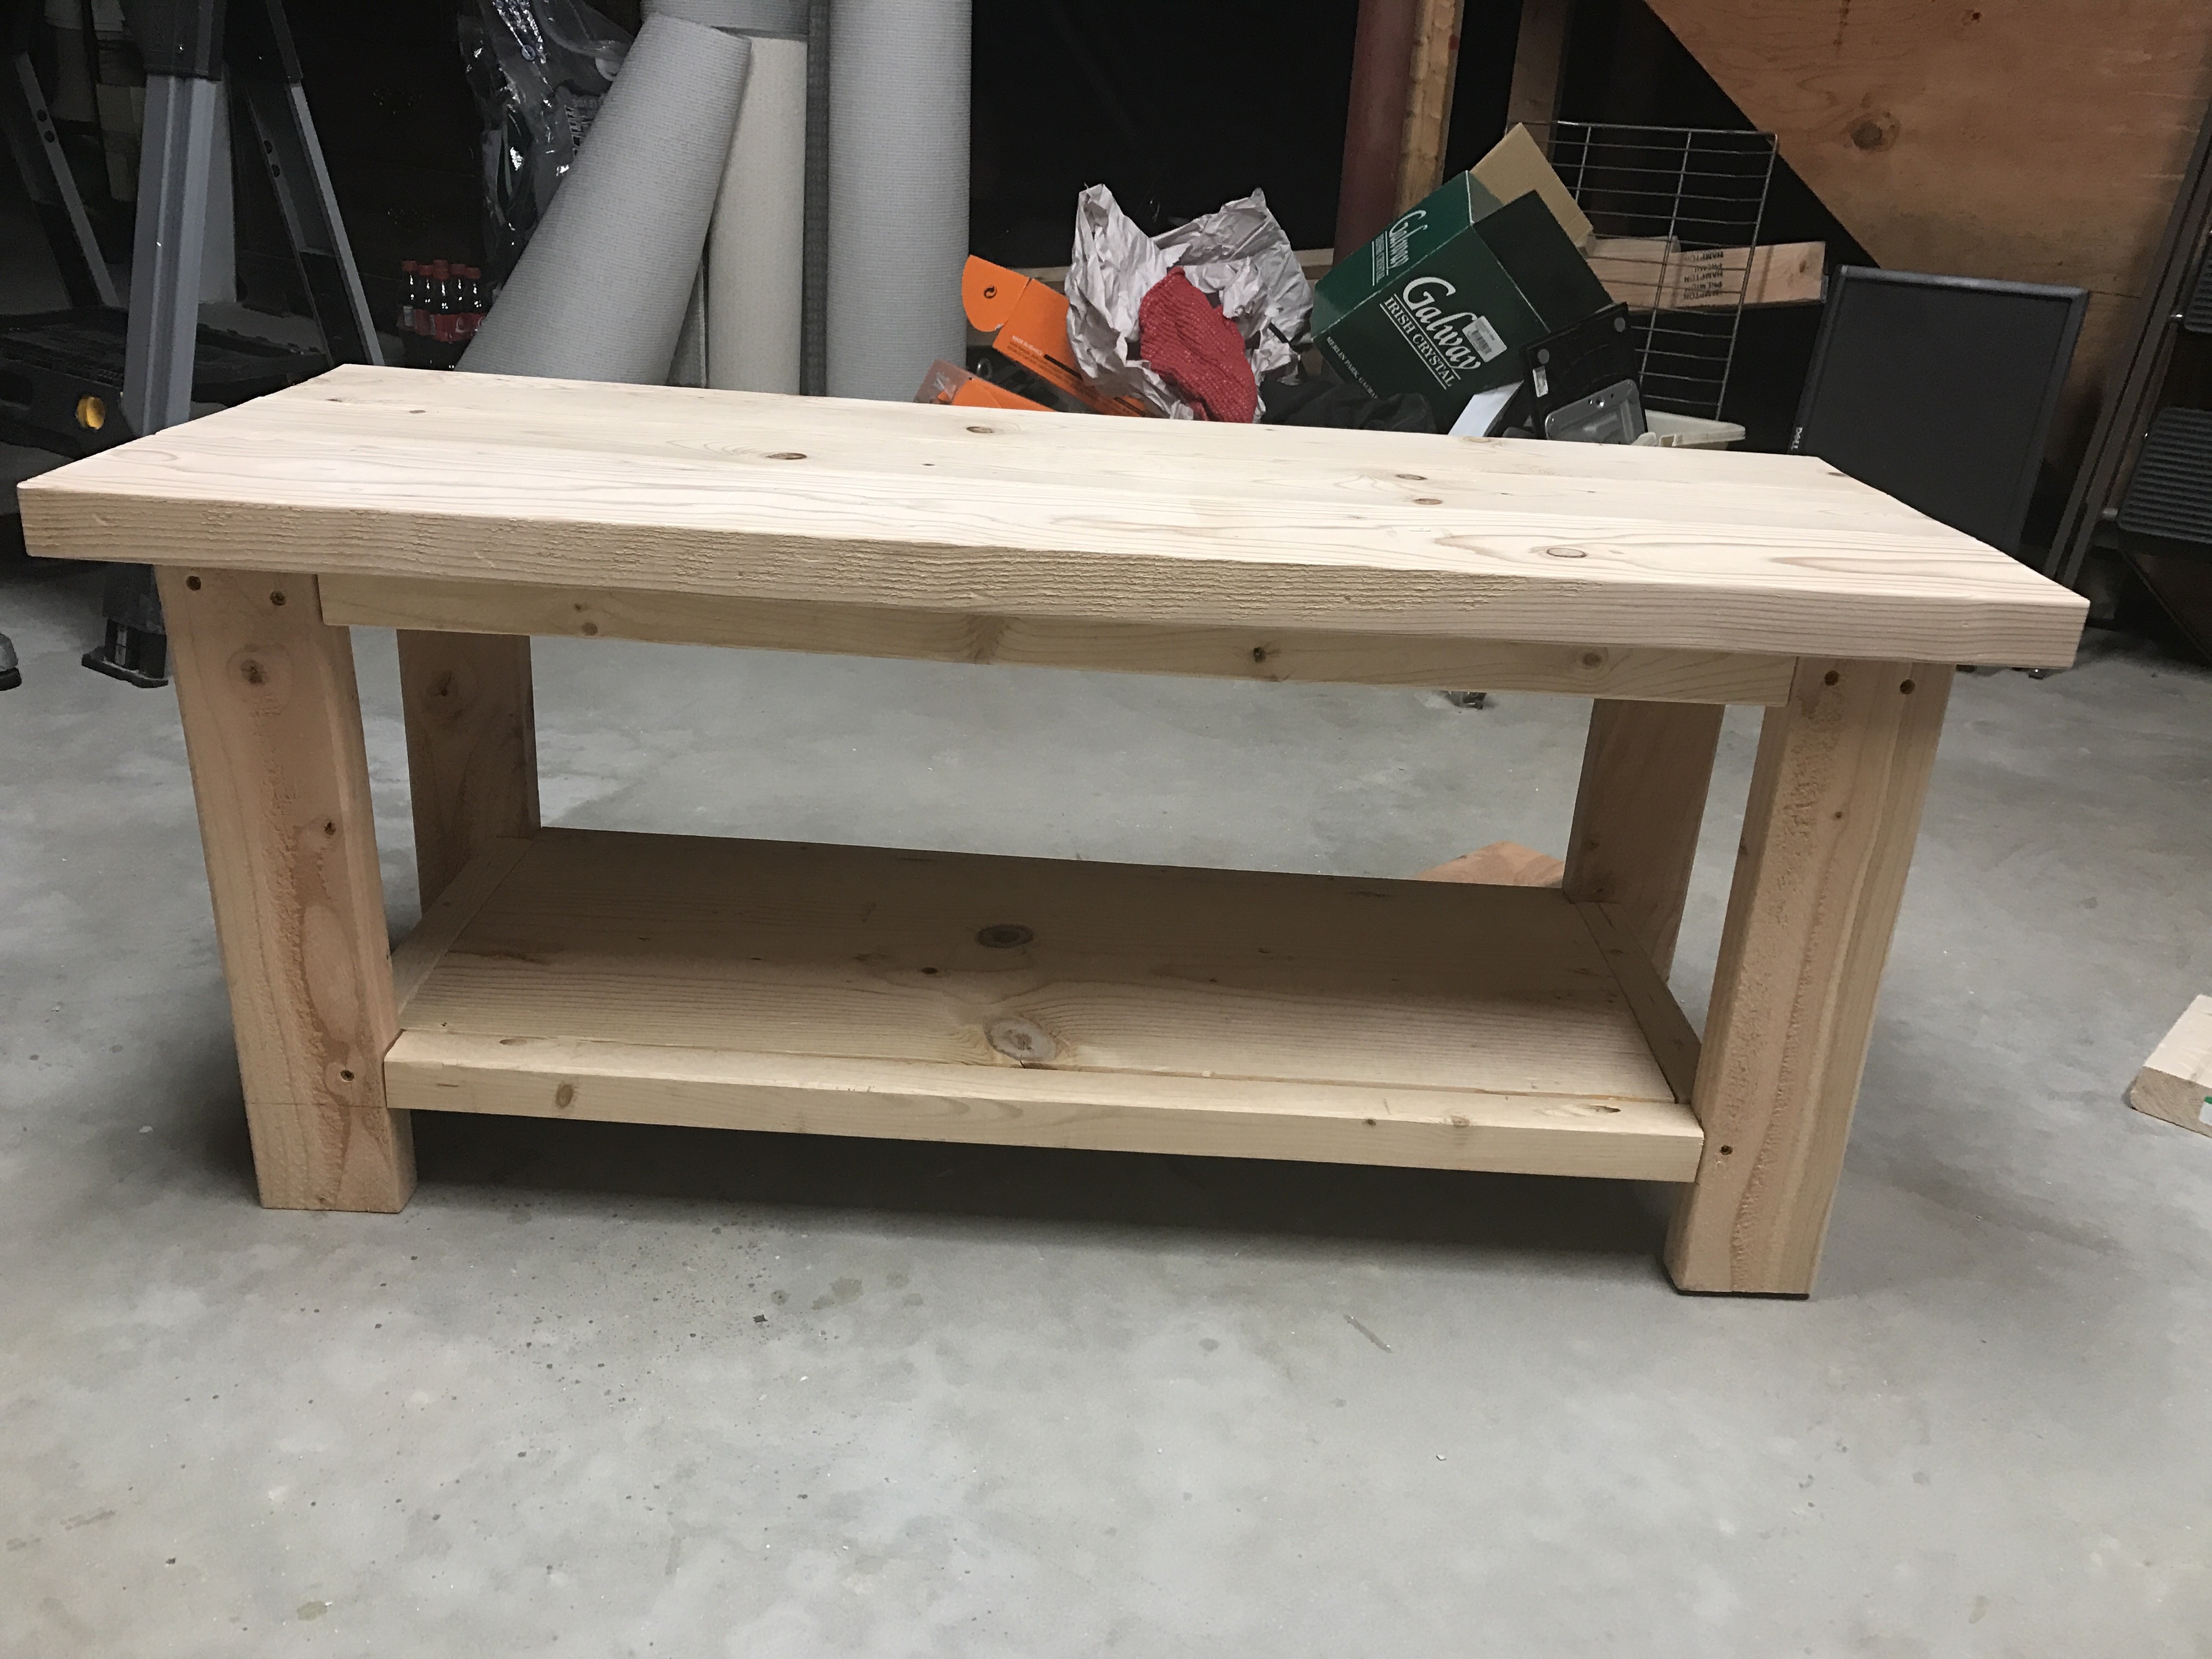
I took it up for a test run to see what I think of it. Womp womp. I don’t like it! I just wanted to share that because … everyone has these high expectations for their projects, but sometimes, you just *shrug* don’t like ’em. Sometimes they don’t work. Maybe I’ll like it more when it’s finished. I’ll still give it a go.
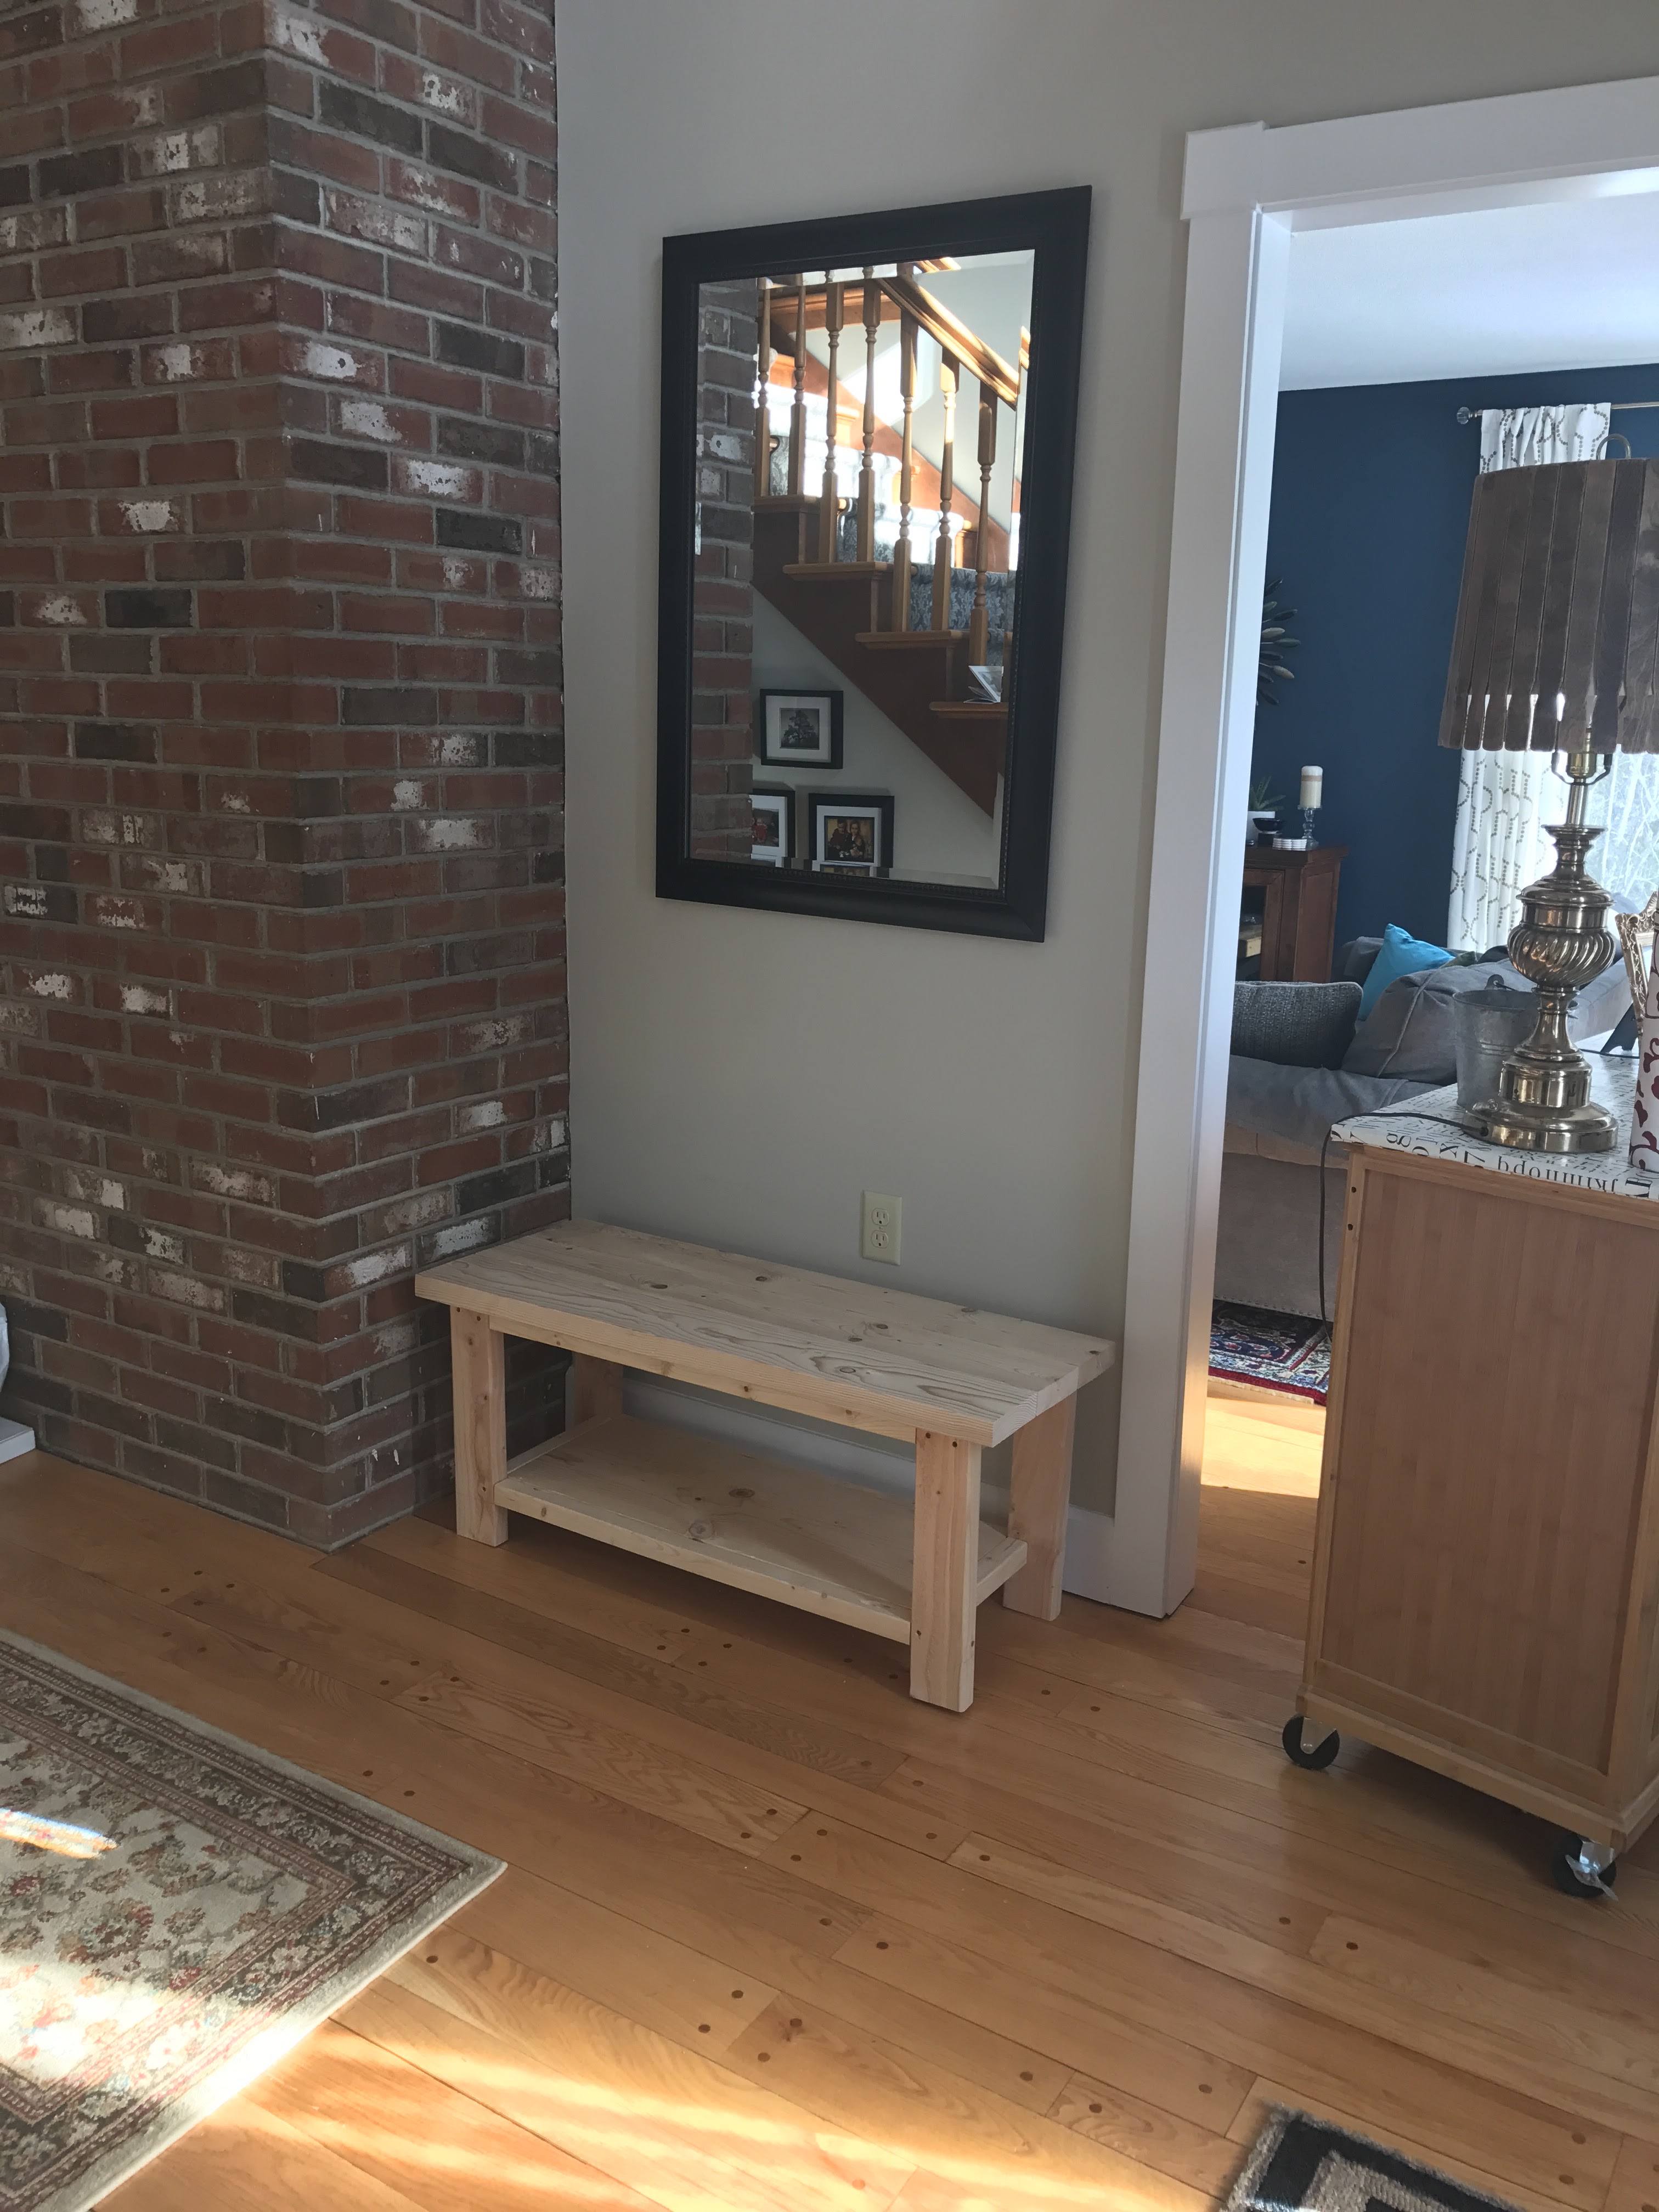
And this was the true test of how out of square it is. Actually, in place, not that terrible. The floor isn’t level (according to my dad, the house “settled” next to the fireplace), so no matter what way I turn the bench, the front right leg needed a finger’s width of material added to it. Fingers crossed that the wood glue held the shims! (Yikes. That could look terrible, too. Well see.)
All in all, the actual building of the project took me about 4 nights after Virginia went to bed. I spent about 1-2 hours each night, but finally wound up with something resembling a bench. WHEW.


