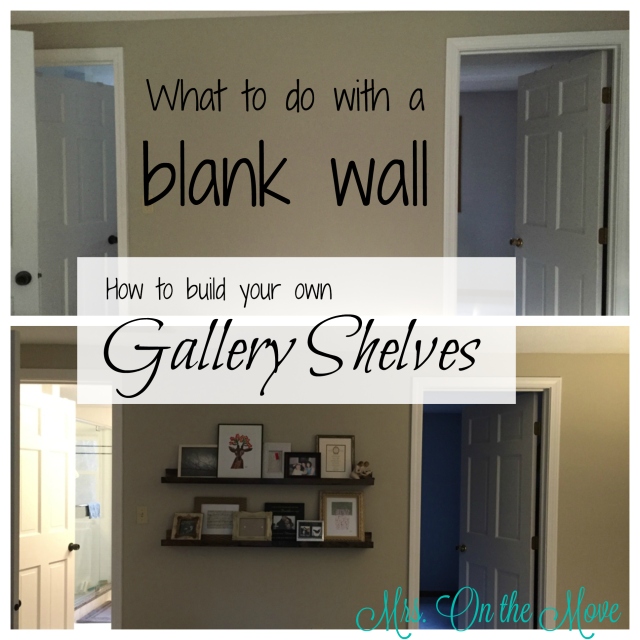
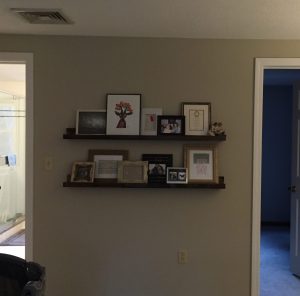
What to do with a blank wall – build Gallery Shelves!
A friend recently asked me for help decorating some spaces in her house. My immediate reaction was well, do you have 2 years for me to mull them over? I’ve noticed that all of my favorite projects were originally spaces I just couldn’t handle. I didn’t know what to do with them, so I simply left them alone and had to look at them every day. Eventually, I had lightbulb moments when I realized exactly what the space needed. I’m amazed by the talented interior decorators of the world who require all of one glance at a room to do this.
The blank wall in our master bedroom between the doorways to our bathroom and our closet was one of these spaces for me. It sat blank for two whole years after we moved in.
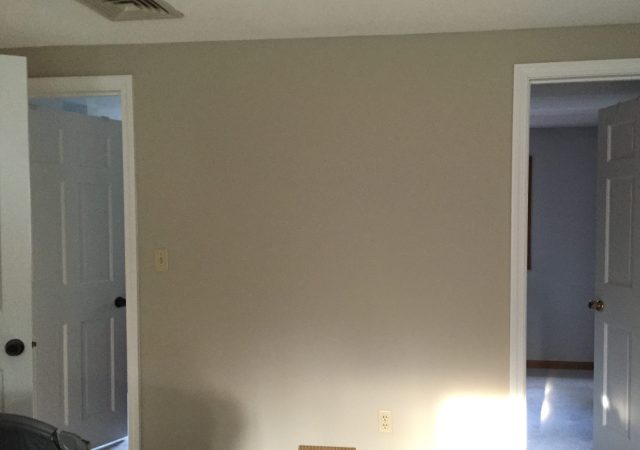
I toyed with the idea of putting a gallery wall up over and over again, but I always backed away from it because they just aren’t my style. I needed something that was a little less “chaotic,” something that satisfied the organizer in me a little bit more. I saw Bower Power’s blog post “Shallow Shelves” and I knew I’d found the answer. Something about the mix of the two clean, parallel lines with the multi-height artwork really appeals to me.
These gallery ledges that I’m about to show you mark the first time I really felt like I had success. Like I’d made something that looked darn good … and not just to me, my husband, and my mom. And what I love about this story is that along the way, I was pretty sure I’d totally ruined them. Just a little lesson learned to keep at it.
To actually build them, I used instructions from Shanty 2 Chic, which directed me to—you guessed it—Ana White’s plans. Ana uses her much bigger pocket hole system, but I had to purchase the Kreg Jig R3 for this project. I’m so glad I did. I’ve used it for so many projects since this one.
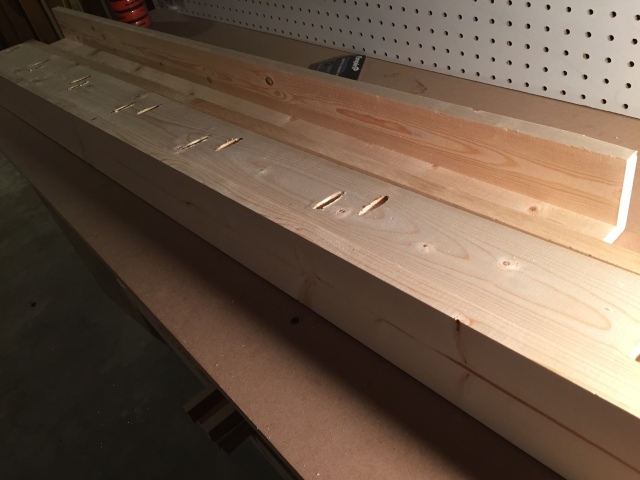
I carefully drilled pocket holes using my new Kreg Jig (after reading every word of the instructions, dork that I am). I didn’t use any clamps to hold the wood together when I was screwing it together; I just put one on top of the other, held it with my hands, and screwed the screws in. It never occurred to me to clamp the project (which I balk at now, looking back), but it still turned out okay. The wood was a little bent though, so they’re slightly out of level, but seriously, you’d never know. If you wanted to be a perfectionist (which I get), you might want to clamp your piece before you screw it together. And, I would recommend first screwing in the outside pocket holes on each edge and then doing the middle holes.
Despite my best efforts to cut my wood all to the same length, I still didn’t get it right. After the piece was all screwed together, I had to sand one end down to get all the pieces even and then I had to trim the other end with my miter saw. MAKE SURE there are no screws near your blade! If you hit one with you blade, you’ll ruin it, and it would be pretty dangerous. (Also, always wear eye protection whenever you use your power tools!)
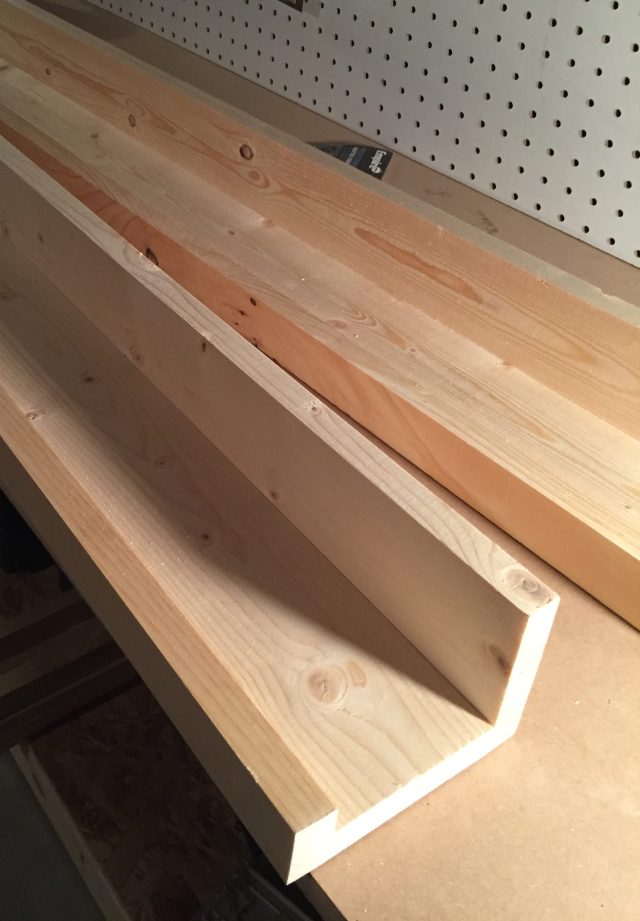
There’s a nice flush end! Made this end all the same length by trimming it with the miter saw. Read the instructions about which direction to put the piece on the saw table!
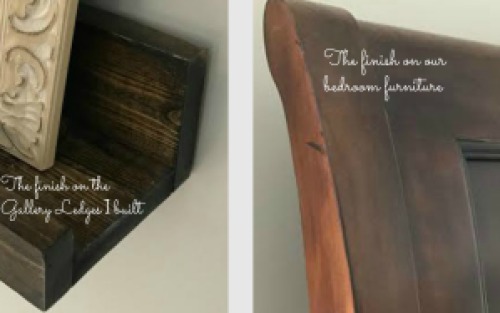
For the finish, I wanted to try to match them to our bedroom furniture, which is a rich, dark chestnut color. I was pretty much entirely unsuccessful in this venture. This is the point where I was groaning to myself, thinking I had ruined the entire project.
But you know what? It’s another one of those things I thought would really matter that really doesn’t. Don’t let something like this stop you. Put your project up and see how it looks! It turns out that the colors are similar enough and far enough apart (I tried to take a picture that had both the ledges and the furniture in it, but it’s almost impossible to get them both in the shot) that they blend pretty nicely with the rest of the furniture.
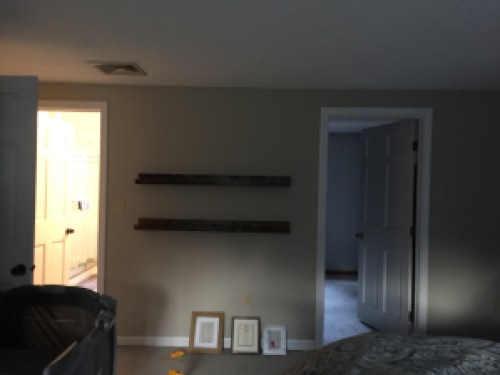
I’m not sure how I managed to put these puppies up by myself, but I did. Since I knew I’d be putting art so that it blocks the back, I didn’t use any fancy hanging devices—I just predrilled some holes and used 2 inch screws and screwed these directly into studs. (If you are looking for a good stud finder, this is it! It’s the coolest little magnetic gizmo.) Don’t be lazy and eyeball whether or not it’s level, either. Suck it up, go down the two flights of stairs, and get the stinking level you forgot. 😉 Clearly, that happened to me.
And then, admire your work as you fill it up with your favorite artwork, pictures, and Willow Tree figures (aren’t they the sweetest?). 🙂 These ledges are also the first time I felt like I had really been successful at making something look “styled,” which is a pretty big moment for me. (I’m more of a “oh there’s a framed picture stuck on the table” type gal. But I’m learning!)
My side of the bed faces these, and I definitely stared at them until I fell asleep for more than a few nights after I put them up. Just a little positive reinforcement. 🙂
Have you made Gallery Ledges? How did you decorate them? I’d love some new ideas for decor items to rotate through!

