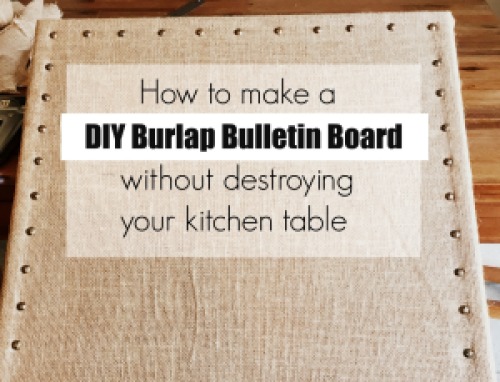
How to Make a Burlap Bulletin Board
A couple of summers ago, my very best friend (other than The Hubster, of course) tied the knot.
I know this post isn’t about her wedding, but since we’re talking about it, I’ll just say that it was Pinterest-Worthy. It was at a cozy inn tucked away in Vermont and she put together a flawless blend of classic, timeless, chic, and rustic. The ceremony was outdoors under a wise old tree with twinkling lights in it. It literally took my breath away.
Oops. Back to reality. I got lost in nostalgia for a minute there. 🙂
In keeping with her Pinterest inspiration boards, we decorated for her shower in a “rustic-fun” style. There were lots of tissue paper flowers, pictures clothespinned to twine string, and name-your-own Mason jars.
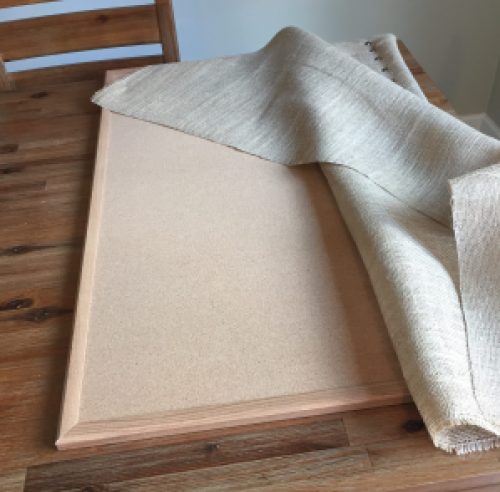
I wanted to create something to welcome guests to the shower… you know, to say “hey you made it to the right place!” I knew I wanted to use burlap to tie in with her rustic theme, so I picked some up at Joann and ordered hammered brass upholstery nails (like these) from Amazon. Finally I found this bulletin board at Target. The idea here is pretty simple: cover the board with burlap and secure with pushpins.
So! First step – iron your burlap. Creases are ugly, and if you’re a perfectionist, you’ll want to undo your work and start over again. As usual, I’m telling you from experience. 🙂
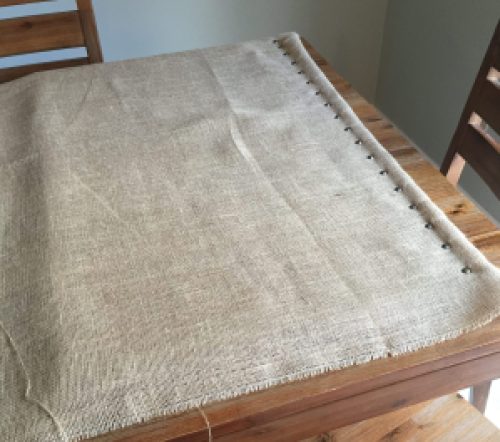
To secure the burlap to the board, start with one row of pushpins, not stapling it to the back of the board. This enables you to get that nice crisp line between the pins and the frame underneath to really help the shape pop. After you do a few pins, smooth your fabric down and make sure you have enough to wrap around all the edges. Then continue merrily on your way. You may want to whistle while you work.
No special trick about pushing the pins in. I just pushed ’em in. It took a while to get the exact space right so that the pin was right next to the wooden frame underneath, but I always knew it was nice and tight if I had to use a hammer to completely get the pin through the cork. I used a ruler and spaced the pins about an inch and a half apart.
And now that you have the hang of it, go all the way around. In total it took me maybe an hour. If you’re wondering how many pins you need, I can only tell you I used exactly 53 pins to go around my 18 x 24 board.
Once that’s all done, flip it over and start panicking. Sorry, you won’t have to panic, but I certainly did.
We have arrived at “nobody told me to look out for this!!” Number 1: Be mindful of how thick your cork is and how long your tacks are. Mine went all the way through the cork, so when grabbed it to turn it over, a whole bunch of my fingers got pricked. I didn’t want some unsuspecting lady at the shower going all Sleeping Beauty on me, so I knew I had to do something about it.
I hadn’t yet wrapped the excess burlap around to the back of the board, so I grabbed some spare batting I had upstairs and stuffed it under the burlap before stapling it down with the staple gun. (I don’t have any pictures of this part, sorry!) Seriously, the back of this project is such a mess.
And hey! You’re done!
Not. So. Fast. Lesson #2. Work on a surface that can’t get damaged or put a crafts mat (something like this) beneath your surface. Remember how I said the tacks were longer than the cork, and that I was using my hammer to help push them through? I was working on our bare kitchen table. When I wiped my hand across to gather up scraps, a chill ran down my back. My eyeballs confirmed what my fingers told me—there were hundreds of tiny holes on the surface of our table. WHAT?!
There may have been a few tears you guys. I dragged my disappointed butt downstairs to get supplies to fix my mess. But it wasn’t that bad. I puttied (wow the past tense of “putty” is weird) all the little holes, let them dry (which didn’t take long because they were tiny), very carefully sanded them smooth, and then used our stain pens to blend them away. (We have these stain pens, and I highly recommend every household buy a similar set… especially if you have kids!)
Ok, no more lessons! You can relax your jaws now. 🙂 I promise there are no more surprises.
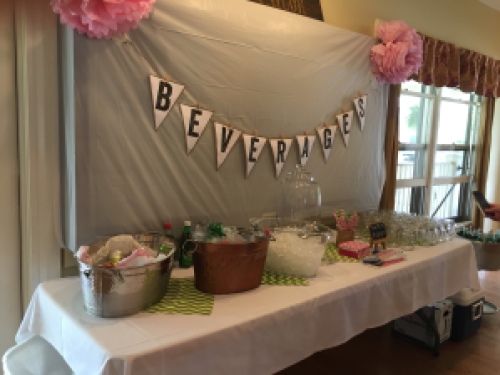
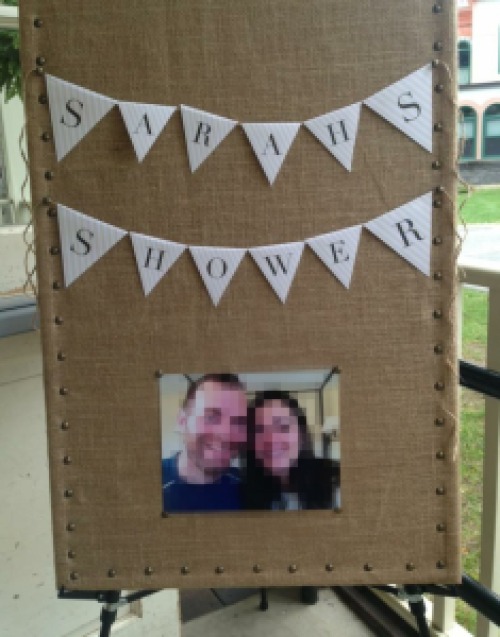
Here’s the board in use at her shower! (Not sure what happened with the A and the R in the banner.. but hey.)
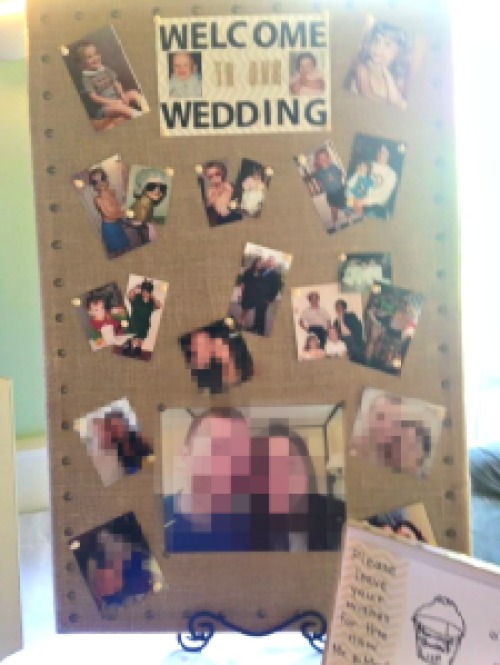
Bonus! She used it at her wedding as part of their decor! I was so tickled pink.
So that’s my very long story about making a burlap covered bulletin board. Have you made one? What else have you used burlap for? (I’m having a small obsession with it at the moment. Fuel this fire, you guys!)



I love this and I love you! <3
Thank you! Thanks for the inspiration Mrs. B! 🙂
gorgeous!!!!! It turned out awesome!! and its an amazing idea!!!!!! Just did a round up post of design trends this year!!
Thanks Samia! Glad you stopped by! I saw that you painted your ceiling… you are so brave!
This would make a super cute cork board with a teal or gray chevron print fabric…or a jewelry hanger/holder!
I love the idea to use it to hang jewelry! Jewelry seems to be a never-ending tangled mess for me…