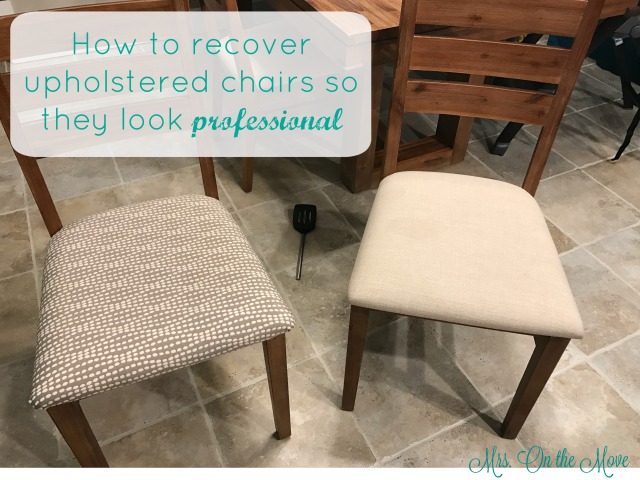
How to recover upholstered chairs so they look professional
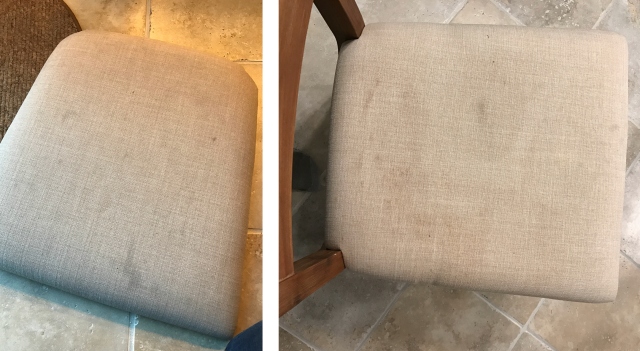
When we first bought our kitchen table, we were newlyweds (read: had no children). Along came our own Virginia and children of our siblings and friends, and our lovely ivory linen chairs started to decline rapidly.
When Virginia moved out of her highchair into a booster seat on one of these chairs, I knew it was game over for the chairs. But rather than let them get gnarly and beat up, I thought I would recover them with some other fabric to try to protect them a little.
If you have a staple gun, this project is a quick and easy. I completed it in about an hour and a half. It’s a great “introduction” to upholstery, too, because you’re not actually stuffing the batting in the seat yourself, just putting fabric over an already-existing shape. (Translation: the shape won’t be lumpy and bumpy and loose and you’ll feel like a pro.)
But WAIT! Before you jump in the car to get fabric, it’s a good idea to take a chair apart (to make sure it actually comes apart!) and measure for your fabric first.
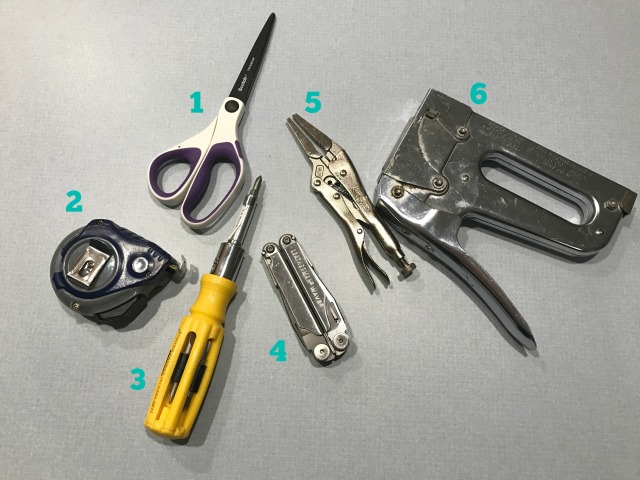
Here’s what you’ll need:
- Scissors
- Measuring Tape
- Screwdriver or power drill
- Leatherman – You might not have one of these, but it’s a tool that we keep in our kitchen “tools and pencils and other random stuff” drawer, and we use it practically every day for something or other. It’s on the expensive side, but I feel like it’s a tool every household should have. It would make a great gift for Fathers’s Day, too. 🙂 Happy Father’s Day to you!
- Vice grips – I like these needle nose ones because they give me a little more precision.
- Staple Gun – I happen to have this one; it was a hand-me-down and it pulls its weight.
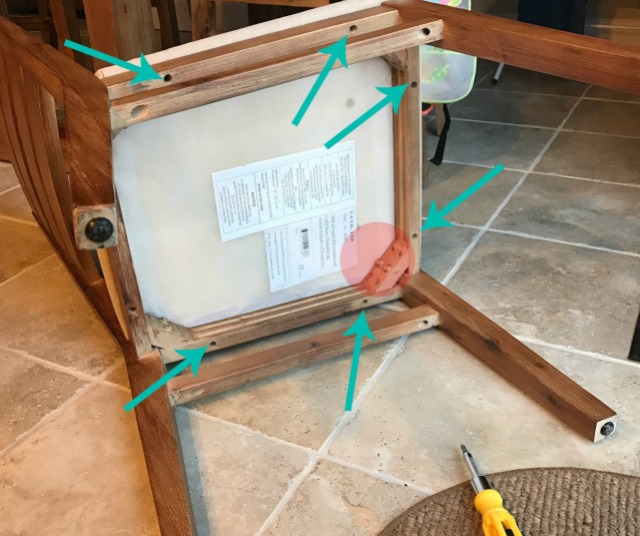
To check to make sure the chairs actually come apart, flip the chair over and look for screws that go vertically into the seat of your chair. At first I thought the angled pieces (circled in red in the photo)—which are bolted in—were what kept my seat on, but upon closer inspection, I realized those only keep the chair frame together and found the vertical holes (teal arrows in the photo).
Of course, I hit a small snag. I don’t have an L-shaped screwdriver. (Do they even make those?) See how there’s a pesky rung between two legs? It means I couldn’t get the screwdriver in there, so I just took out the head and did it by hand. For ones that were really in there tight, I used the vice grips to create a make-shift L-shaped screwdriver. I know, I’m a cave-woman. How very unprofessional of me! 😛
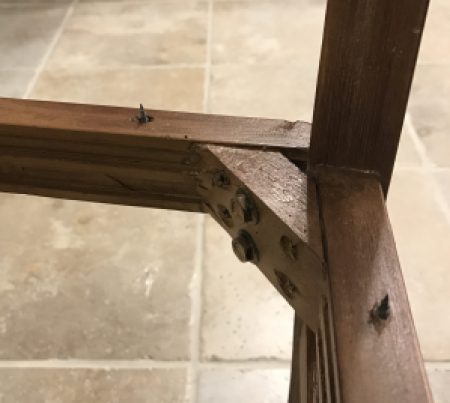
And there’s one more annoyance that may happen to you like it happened to me. The screws stayed in their holes! I just used the flat part of my screwdriver to get them down as much as possible, and then pushed them down with a fat ball-point pen. After that I was able to grab them and pull them out. #itsalwayssomething
Once you get the seat off, it’s much easier to measure. I just looped my tape measure around both edges to get a better estimation.
Once I got all measured up, it was off to Joann’s Fabrics. I love the fabric I found! It goes really nicely with our wall color (Benjamin Moore Revere Pewter) and floor tiles. It’s also reversible. Unfortunately it wasn’t cheap, although I did hit it at a 50% off sale, which is nice because otherwise I wouldn’t have bought it. An important lesson learned about patterned fabric! I almost did this, but just barely caught this mistake: Make sure your fabric is going in the same direction for all chairs! (Unless of course you want the fabric running different directions.)
While Virginia napped, I got to business on the first chair. Since the seat was already off, I laid my fabric out on the floor and put the seat on top of it. Make sure to leave enough fabric abound the edges to go up and wrap. I left myself enough to go at least beyond where the factory fabric ended. After doing all 4 chairs, I figure out I needed about 4 inches of fabric to do a nice, tight wrap.
After some pulling and folding and prodding, I decided to staple first the front center, then the outside edges of the front, totaling 3 staples. Then I would staple the rear center to keep the span of fabric between the two middle staples nice and tight.
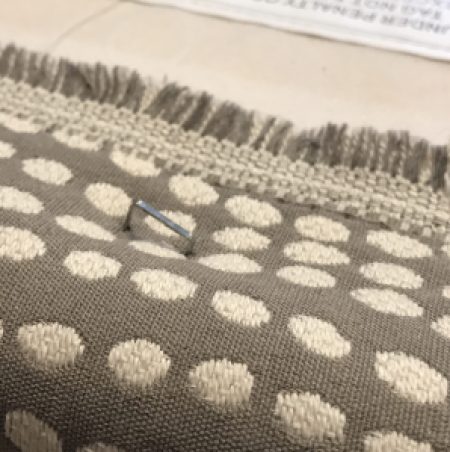
You guys, below is a picture of the first. stinking. staple. I literally laughed out loud. This is where your Leatherman or pliers come in handy. Don’t stress if you put a staple in that causes something funny; the staples are surprisingly easy to yank out. Use a flathead screwdriver to pry the staple up enough to grab it with pliers.
Ok, so first-staple-nerves out of the way, I continued on and did my 3 across the top and 1 on the bottom. Now it was time to try out a corner. Whatever I did, I just could not mimic the super clean, 1-fold corners of the original factory chair fabric. So I settled on the Azelie way. 🙂
First, pull the fabric straight out, then fold it in at an angle (Step 1 and 1a). Do this again with the remaining fabric (Step 2 and 2a). So much easier to just show you pictures for this part. Scroll down further in this post to see a fancier method I discovered, too.
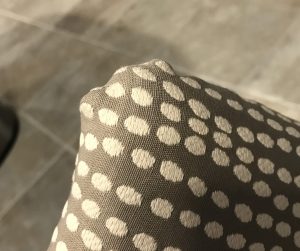
The result is a neat little corner (if I do say so myself):
I made it through the two front corners feeling pretty confident. I was nervous about the back two corners because of the little notch, but the universe gave me a little more time to stew on my nerves because Virginia woke up from her nap, so I had to take a little break.
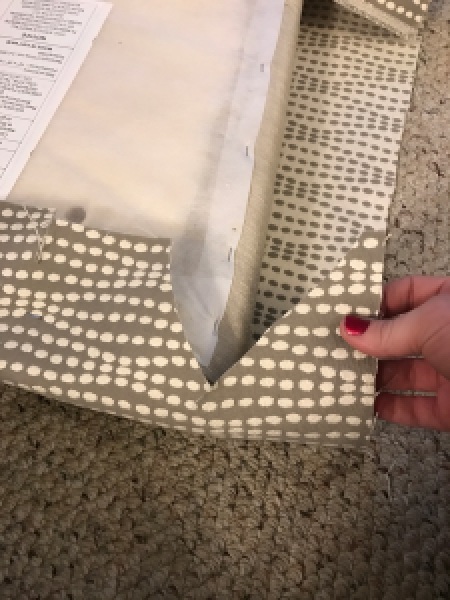
After dinner, I got back to it. The back corners weren’t as intimidating as I thought they would be. First I pulled all the fabric out away from the corner to get it flat and neat, and then I drew it back in again directly the opposite direction as the center of the notch. The fabric naturally folded in underneath the point (where my fingers are holding it down), but you may have to help it lay flat and tight under there before you staple it. Staple once on each side of the fold.
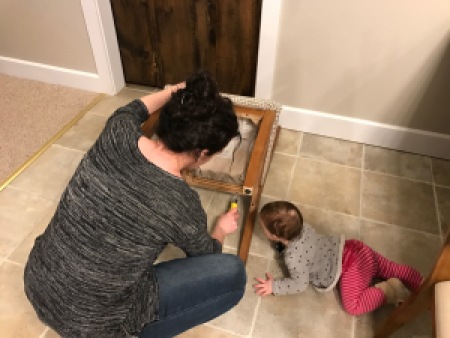
To screw them back onto the frame, I had to deal with that pesky rung again and fumble with the vice grips and screwdriver system. Whatever, it worked! By this time, Virginia was supervising, of course. I have been delighted at how doable projects are even with her around! (It’s just the one kid… for ideas on how to do DIY stuff with four around, talk to Katie Bower!)
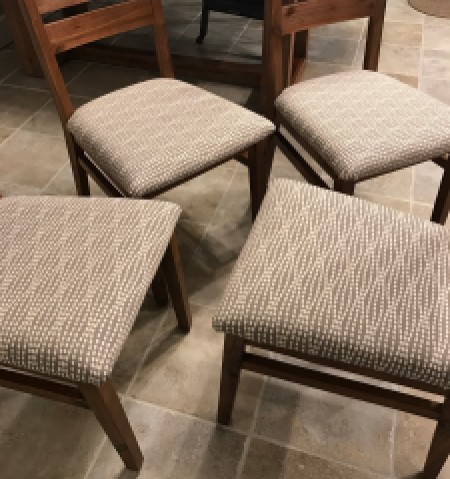
And now you can finally go ahead and stand back and admire your work! I mean really, if you didn’t know which one was the original chair, you’d be hard pressed to figure it out! This is a project you can do that will really give you lots of positive reinforcement for future projects!
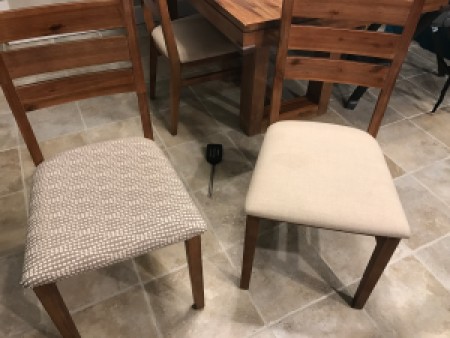
Can you tell which is the before and after? So professional looking! (Don’t mind the spatula there. Just evidence that a toddler was running around.)
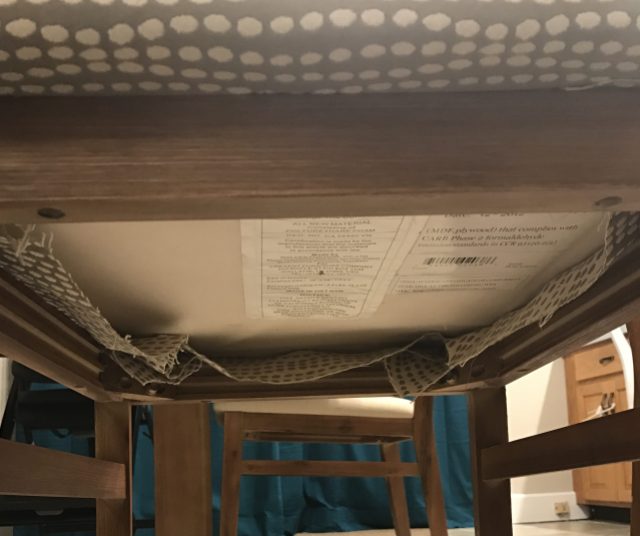
I jokingly said to The Hubster, “Just don’t look underneath the chairs” because I was pretty generous with my fabric and it was a hot mess under there. His sarcastic reaction made me laugh: “Well that’s usually the first place I look when I go to sit in a chair, so I guess these chairs aren’t going to work for us.” Perfectionist that I am, I started to trim the extra fabric away after I’d done all my stapling.
By the 3rd chair, I found a fancier way to do the front corners. I cut away a V-shape before each fold so there wasn’t quite so much fabric. Ultimately, I’m not sure if it made a difference. Once the seats got screwed on to the chair frame, you can’t tell which is which.
So that’s how I gave these chairs new life, and maybe saved their original life for a comeback someday. I hope my lessons helped you! Have you ever recovered anything? How did they turn out?













Great professional job! For future projects, you can buy the parts to make a 90 degree screwdriver.
Thanks, Robert 😉 You almost got a phone call during this project to see if you had one!
Looks amazing! And thanks for the link…it’s always so nice to find new blogs that way 🙂 You really rocked out the chair makeover! Can’t wait to read more!
Whaaaat Bower Power is here?! Thank you so much!! You poor thing, I feel like I link to you all the time… you’re going to get so many notifications! (I didn’t know that was a thing!)